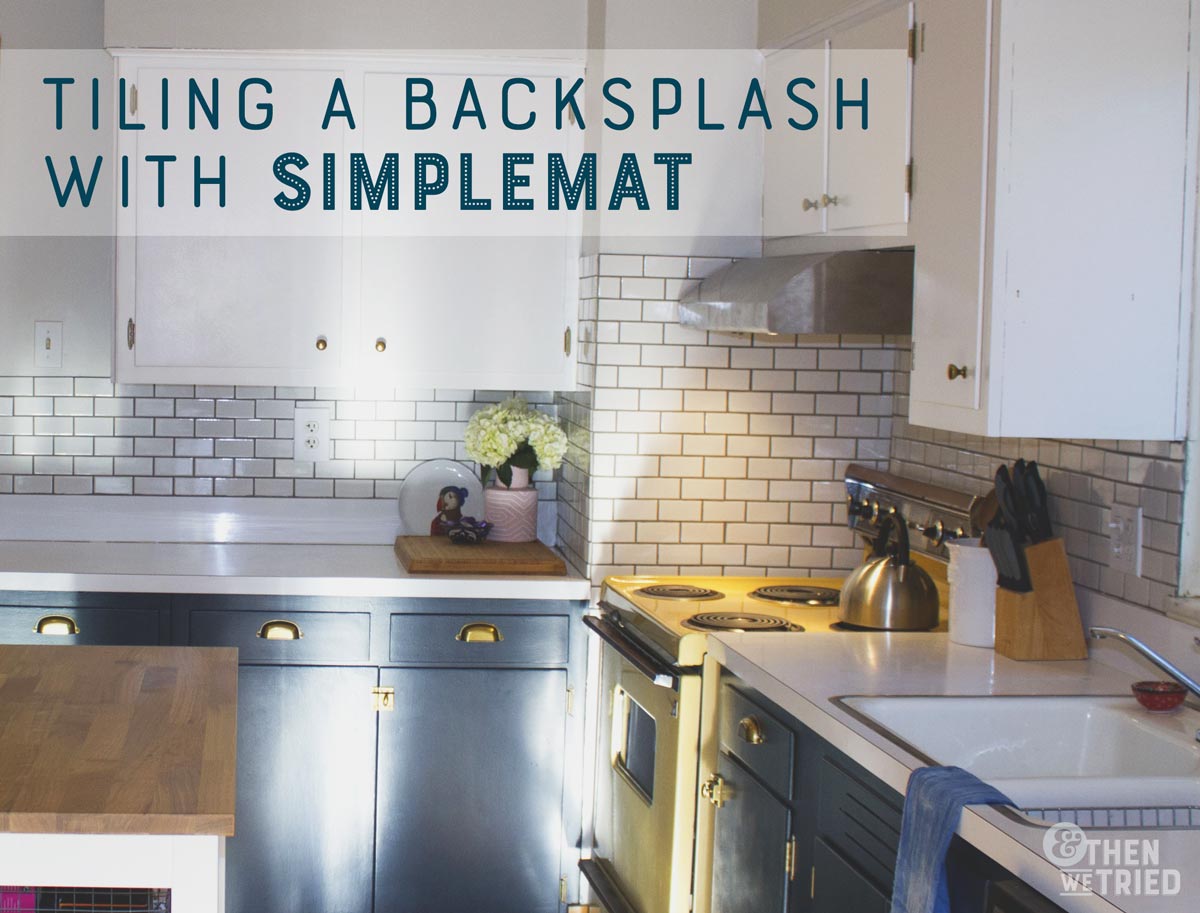
One last kitchen post before we never have to talk about this project again. Since this was our first attempt at tiling, I wanted to share our process for tiling a backsplash with tile mat and give you our SimpleMat review. There were pros and cons for using tile mat instead of traditional mortar, but we’ll get to that in a minute. First, some background.
Our Original Tiling Plan (and how it was quickly abandoned)
The mini subway tile that we picked out came in sheets, which we thought would make tiling go a lot more quickly than placing individual tiles. Unfortunately, however, the distance between our countertops and the bottom of the upper cabinets was just a little bit shorter than a full sheet of tile. No problem, right? Just a few cuts. We knew we’d have to make cuts elsewhere so this didn’t seem like a big deal.
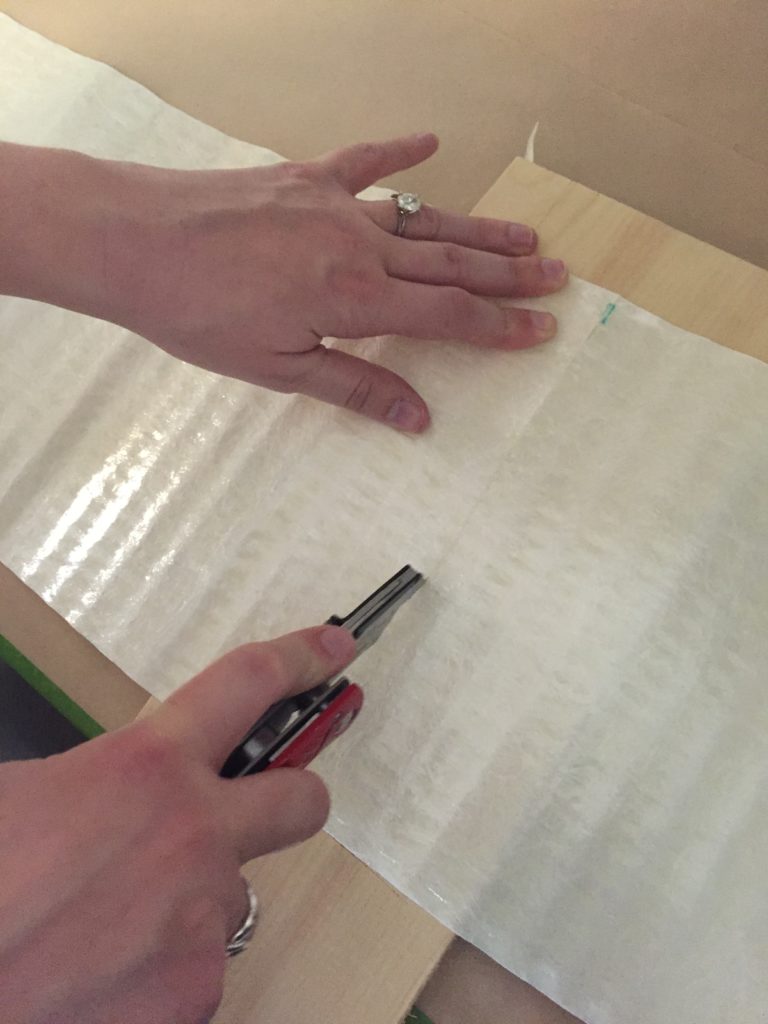
Heading into the project, we knew we wanted my dad to help us out. He has tiled before so we were relying on his expertise. Wanting to get the most out of our time with him, we decided to put up the SimpleMat a few days before he would be coming over. That way, when he came over, we could dive right into placing and cutting tile.
We needed about 22 square feet of tile and ended up buying over 30 square feet. They say to purchase 20% extra tile just in case, but it’s a good thing we bought more than that. Our original plan of using a tile cutter didn’t work for this type of tile. We could make vertical cuts no problem, but any horizontal cuts or notches ended up just shattering the entire tile. We went through quite a few sheets of tile that way.
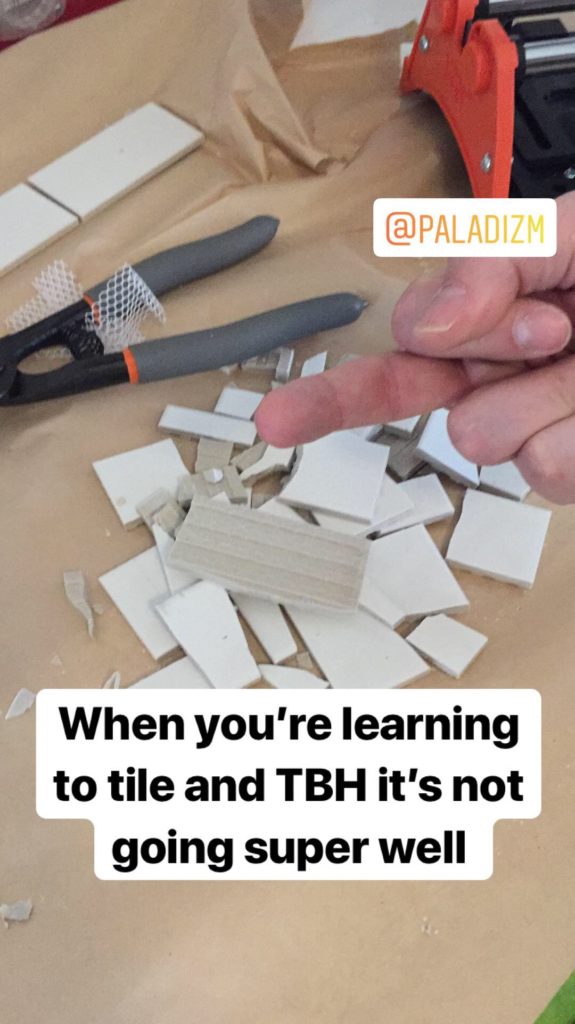
We ended up just buying a wet saw, which we should have done from the start. It was able to make much more precise cuts and the only times we wasted a tile was if the measurements were wrong for some reason. Using the wet saw, we replaced a lot of the botched cuts we had made with the tile cutter, which meant those original pieces were scrapped as well.
I had been hoping to be able to return a lot of the tile we bought since we had so much extra, but all of that trial and error left us with only about two sheets leftover. We’ll be keeping those in the event that we need to replace anything in the future. I had also hoped we’d be able to return one of the containers of grout, but we ended up needing even more than we originally bought. We should have purchased the gallon container of it instead of quarts, which would have saved us money (and time, since I had to run to the store mid-project to get more grout).
SimpleMat Review: The Pros
One of the big pros of using SimpleMat was that we were able to get all of the adhesive up on the wall a few days before we actually started tiling. It was nice to be able to break the project up into chunks instead of having to do it all at once. It was also a lot cleaner than using thinset, since all we had to do was cut sheets to fit using an xacto knife and stick them on the wall.
SimpleMat Review: The Cons
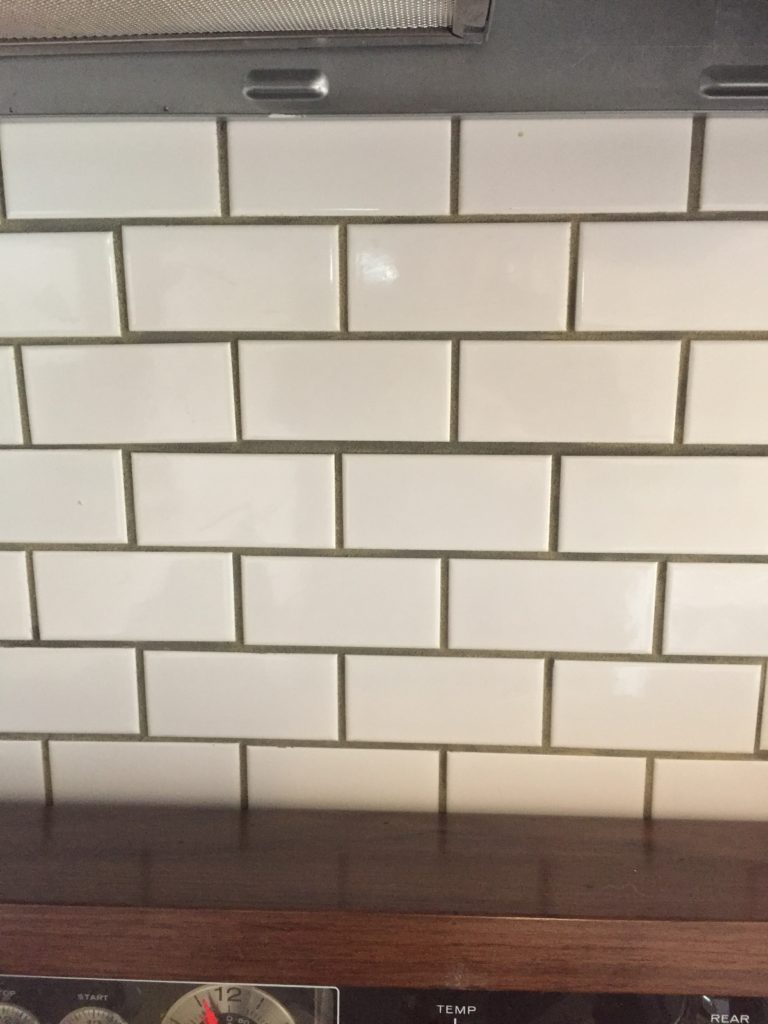
We were surprised to find that the tiles did have a little bit of play once they were up on the wall, but nothing compared to traditional methods where you can move the tiles around after they’re up on the wall. Additionally, our tiles were on a sheet, which meant that to readjust any placements we typically had to peel the entire sheet off and start again. I have no doubt though that peeling and resticking sheets of tile cut down on the overall stickiness of the SimpleMat, which leads us to our next dilemma.
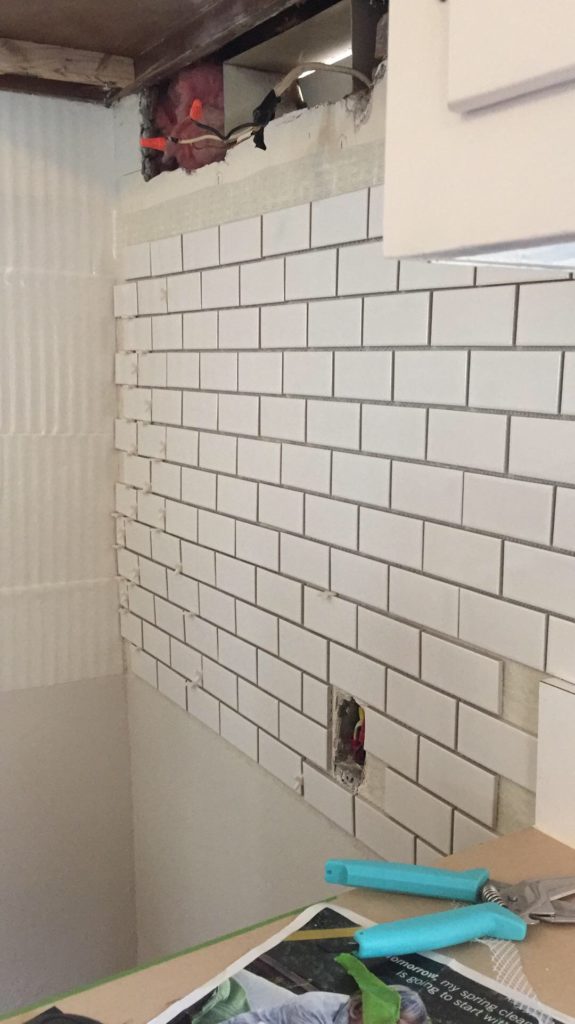
A tip: plan on setting your tiles and grouting on the same day. We cut and set the majority of our tiles on a Saturday, but as I mentioned, we had some trouble getting all of our cuts correct and ended up needing to continue setting tile on Sunday. We left what we had already set up on the walls overnight and found a bunch of them on the floor the next morning. The adhesive didn’t hold all of the tiles up overnight, and even the ones that stayed on the wall had shifted in some areas.
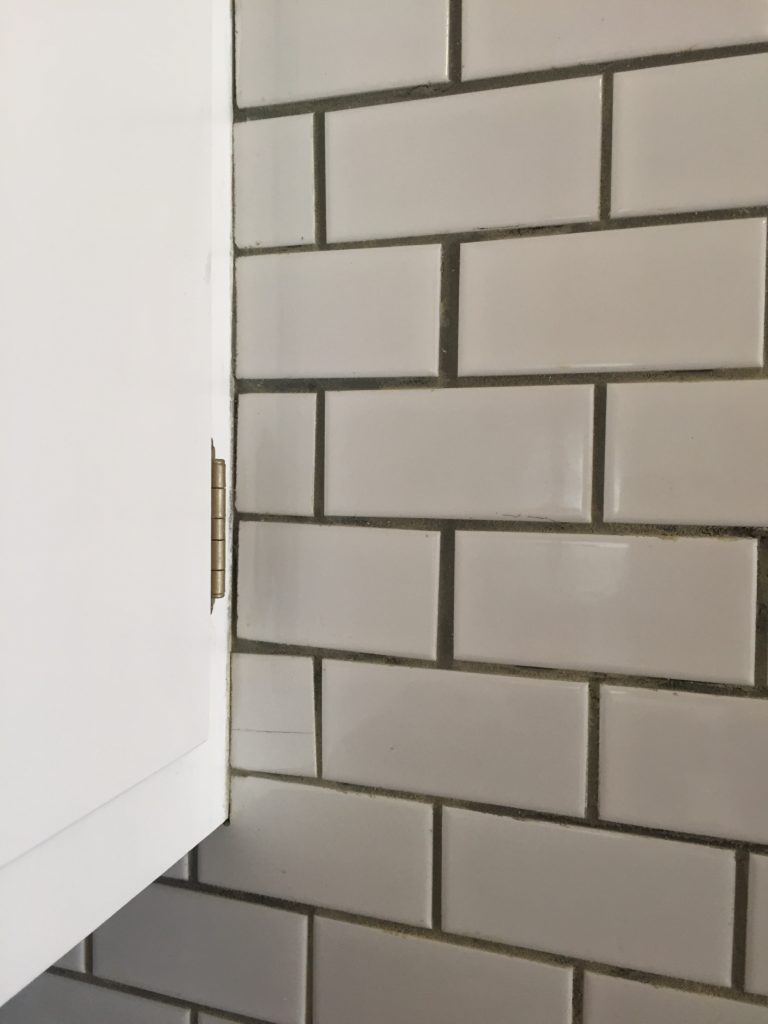
SimpleMat is no match for gravity, and because it’s so difficult to move individual tiles around once they’re attached, we had a hard time getting things to realign. You can see that in some of these spots, where rows sunk a bit and were tough to get back in place.
The Verdict
Here’s the bottom line: if you’re trying to quickly tile and grout something in a single day, then SimpleMat might be a good option for you. But for newbies or anyone else who might need some more time, just go the traditional route. I can definitely see the appeal of SimpleMat and I’m glad we tried it, but it simply wasn’t the right tool for the job for us.
Have you ever used a tile mat for a backsplash or other project? Or are you a traditional thinset kind of DIYer? Let me know what has worked for you!