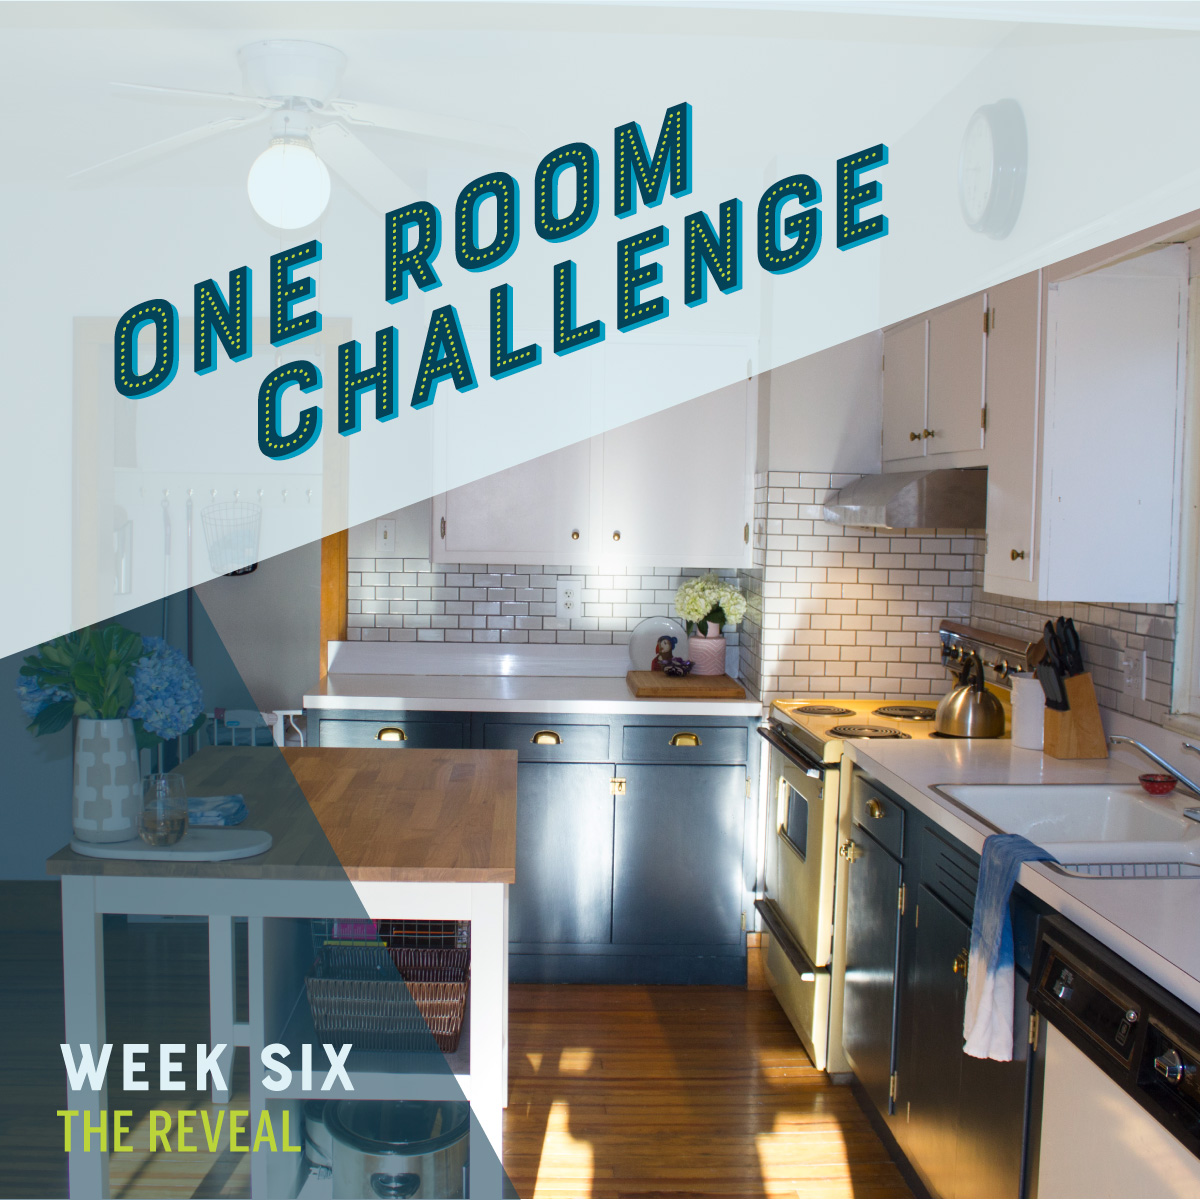
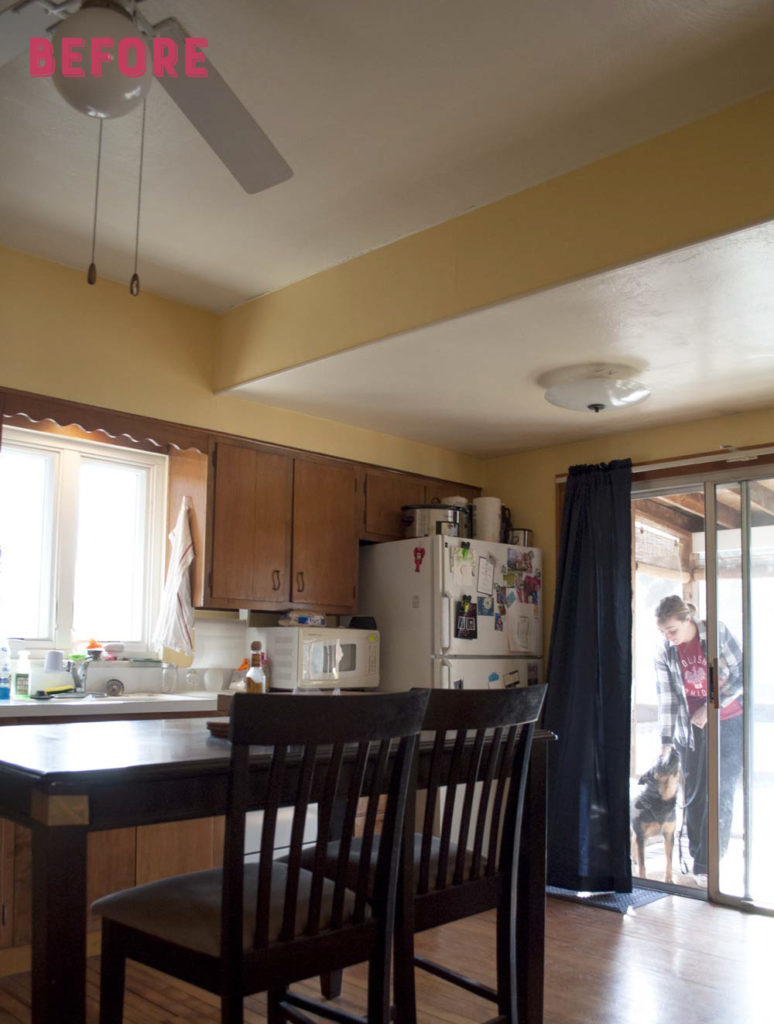
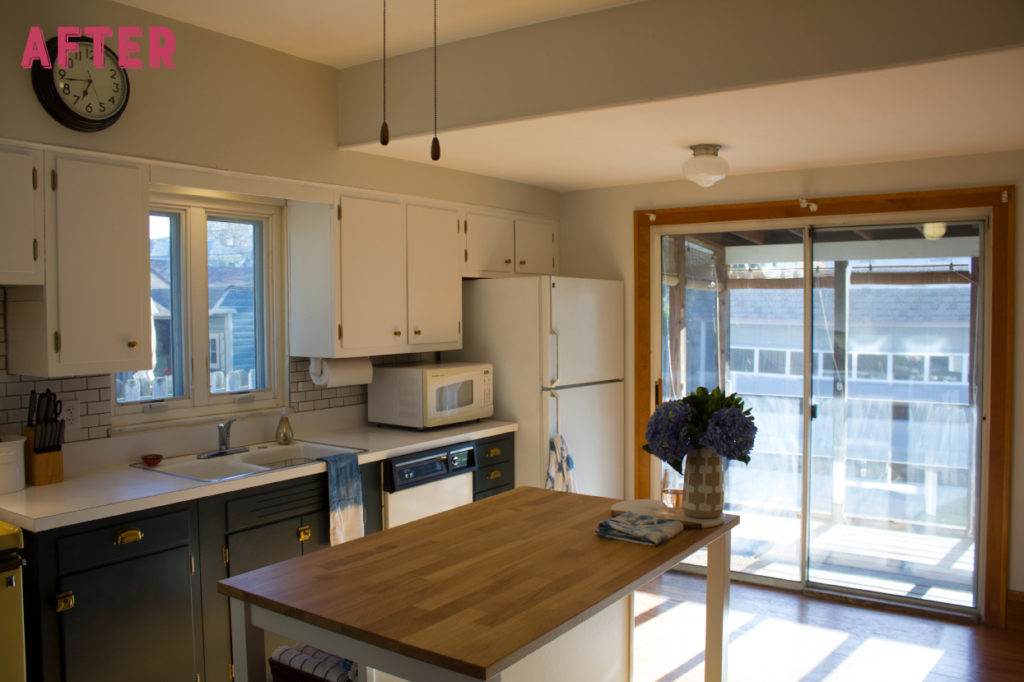
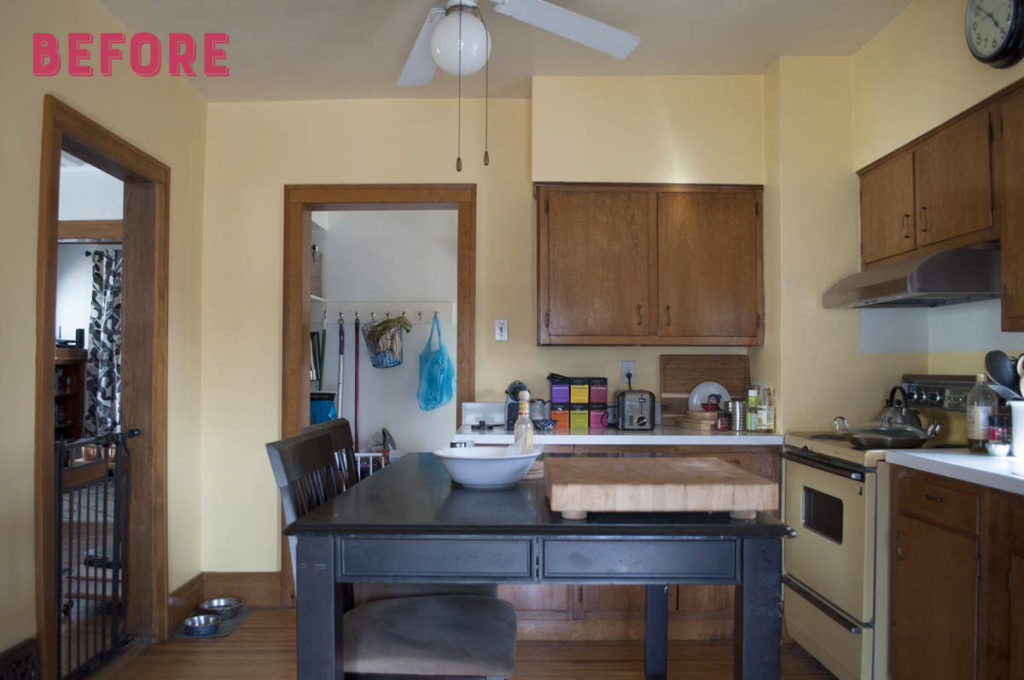
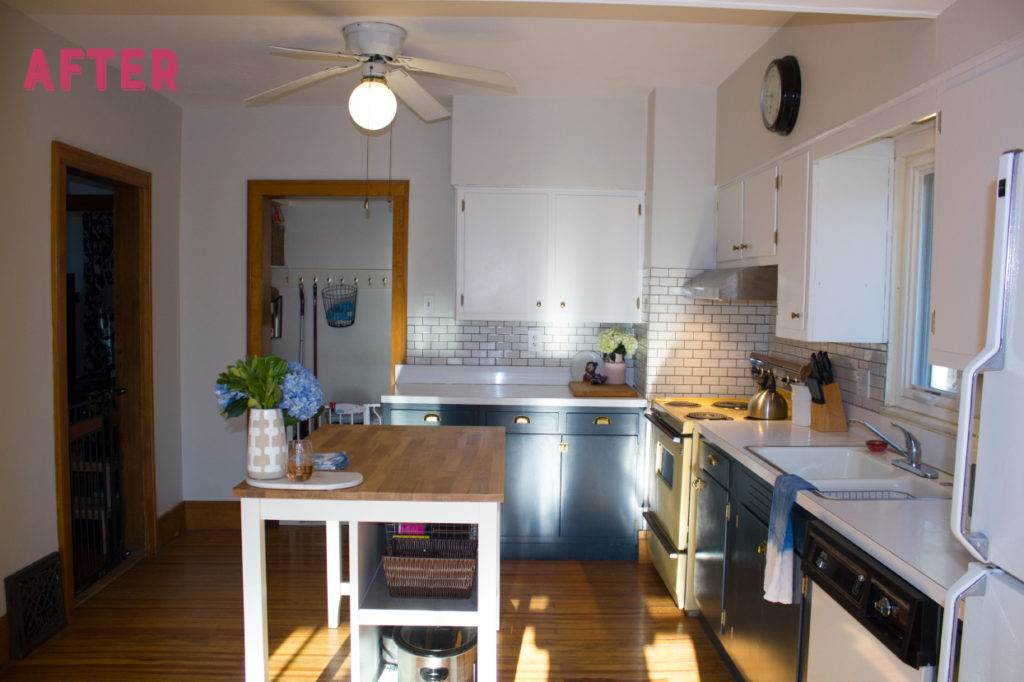
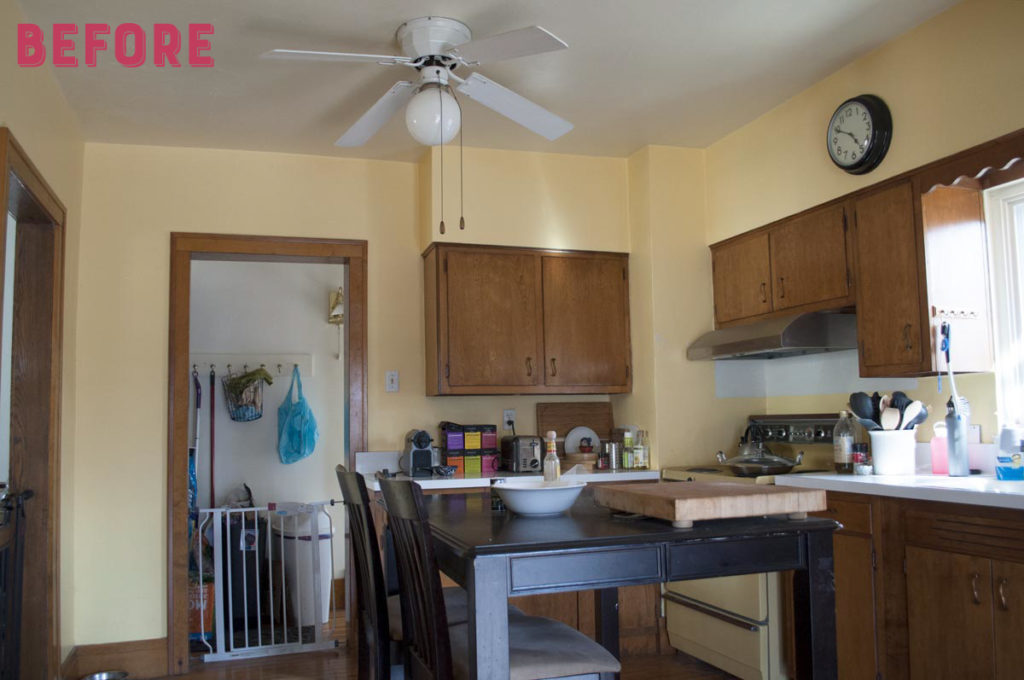
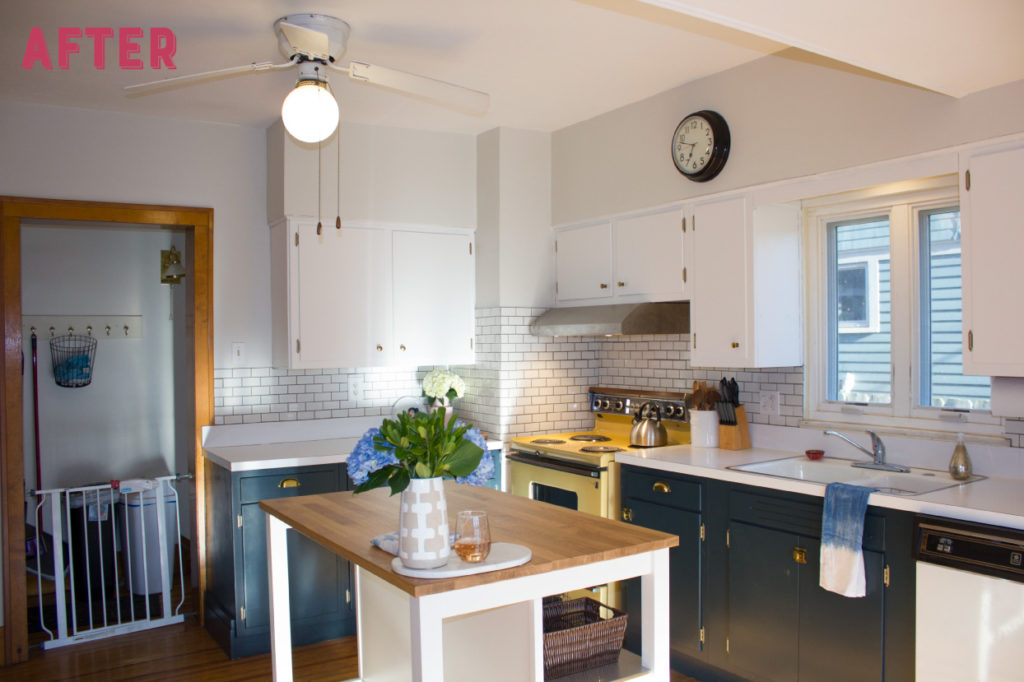
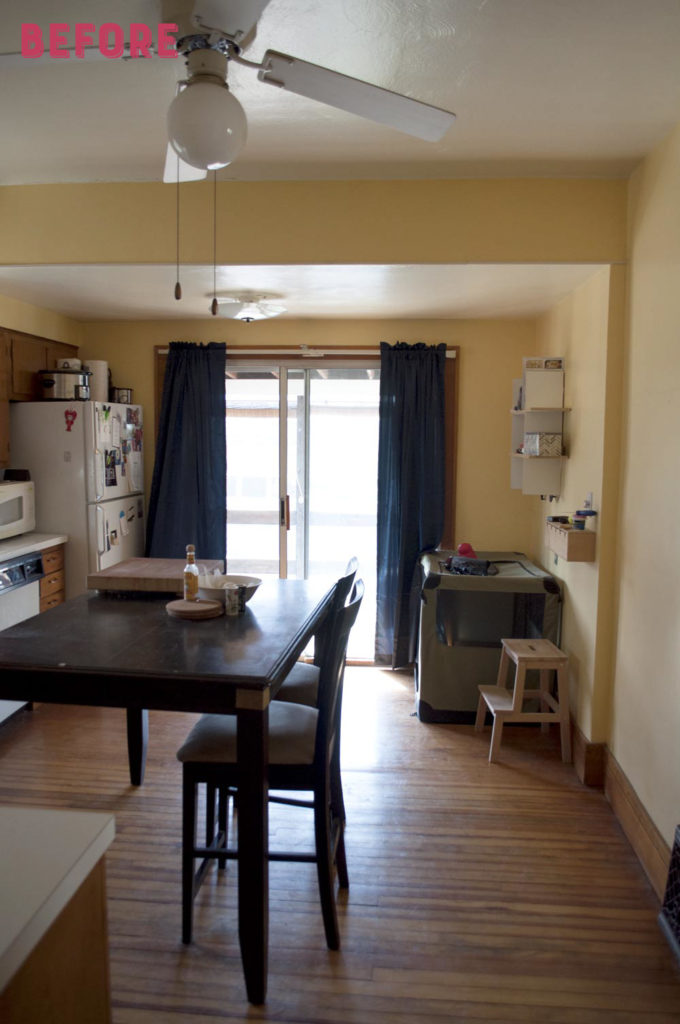
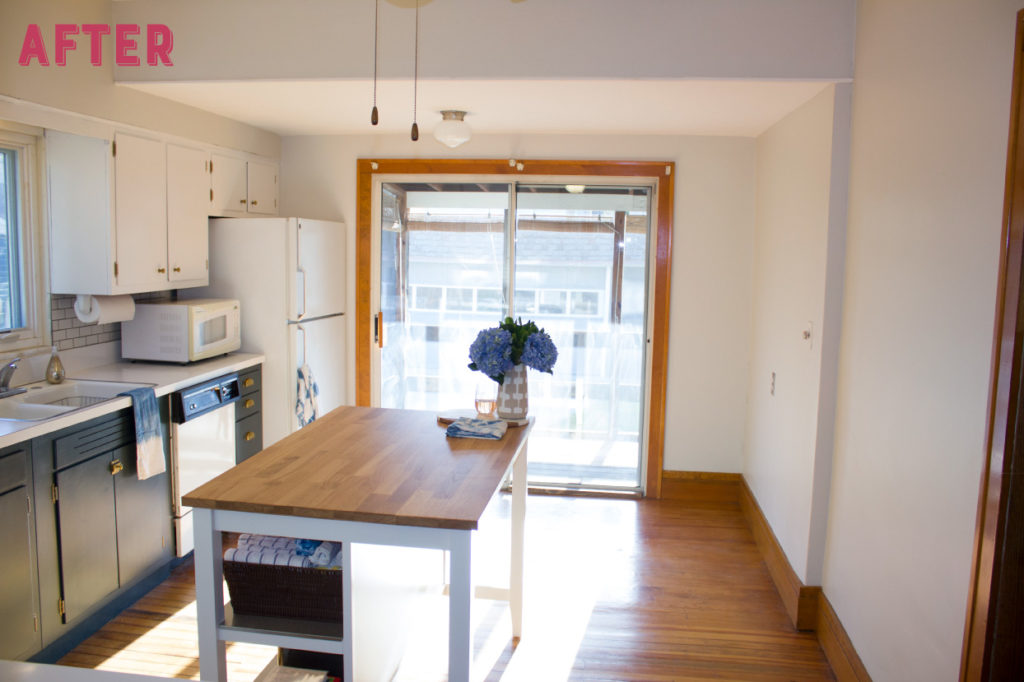
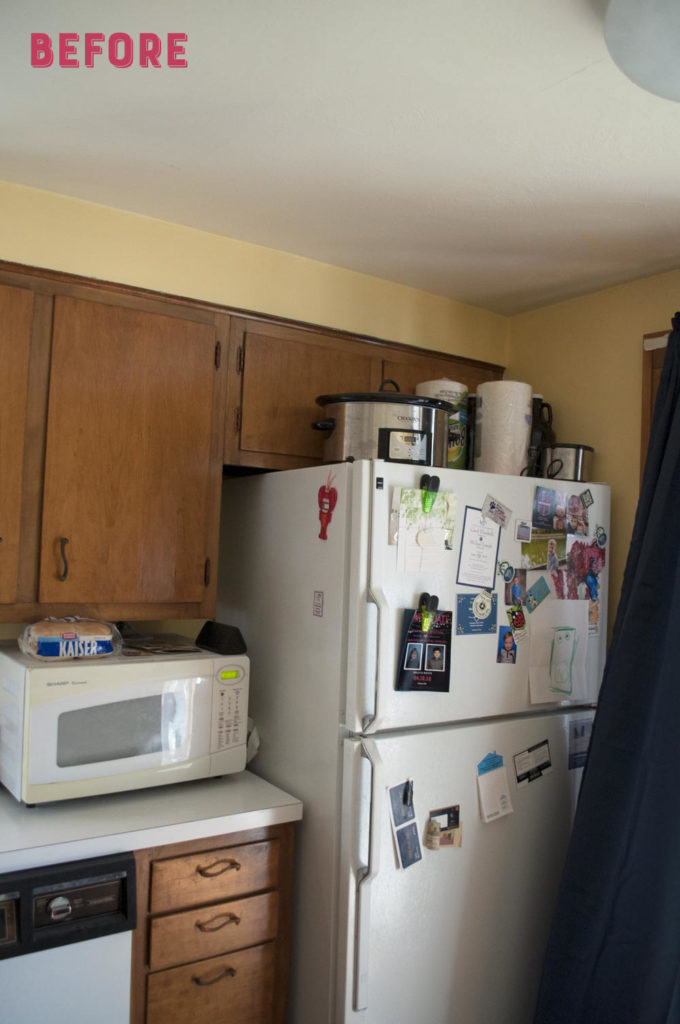
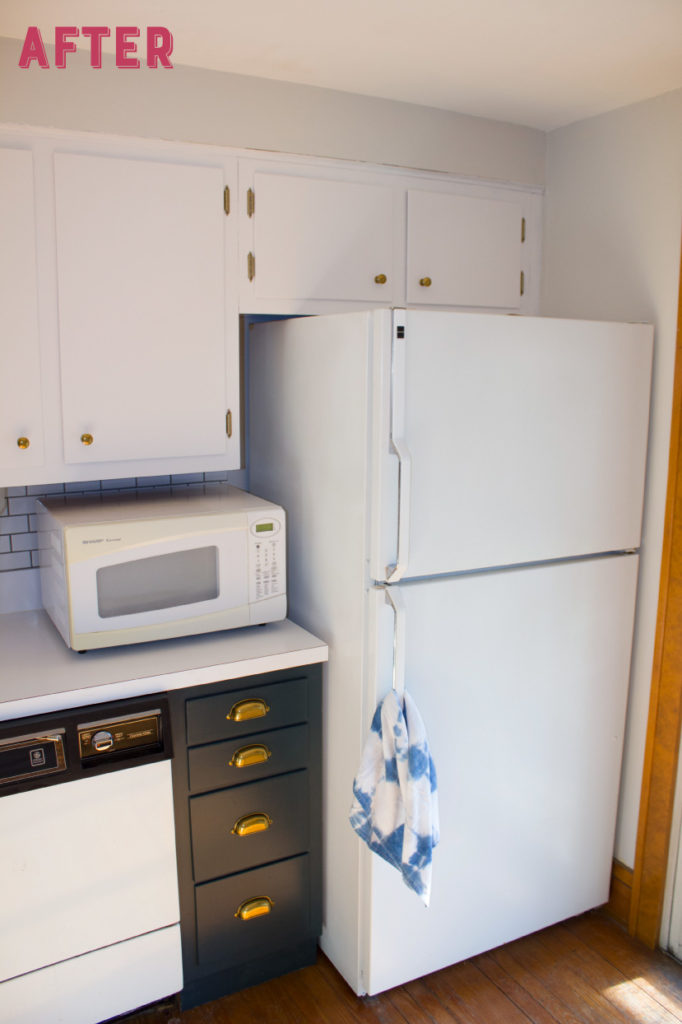
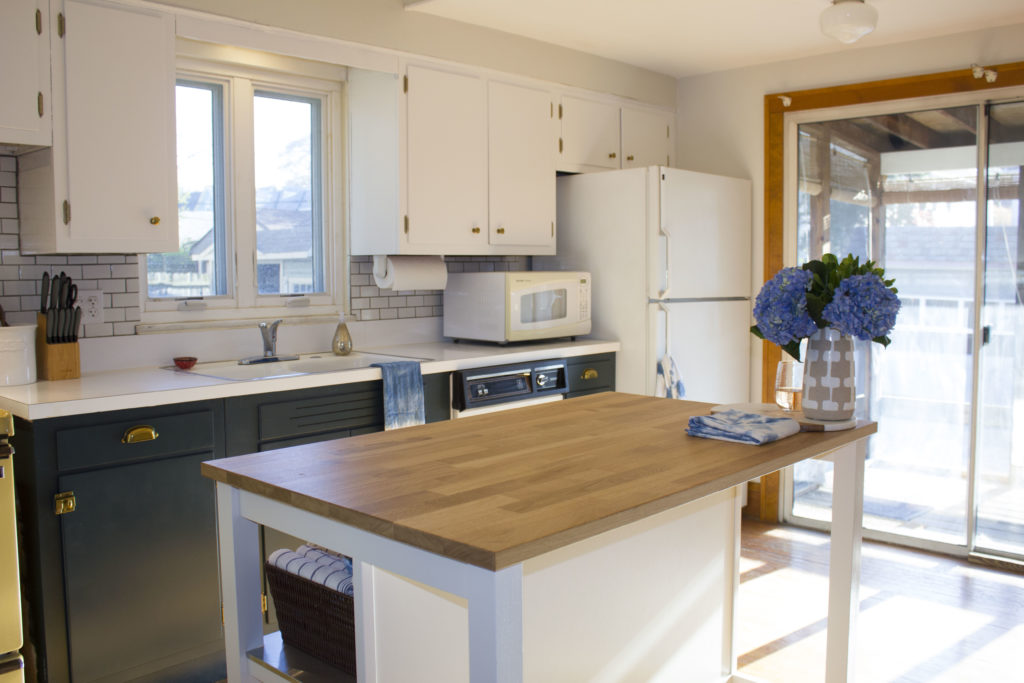
Pop the pink wine, fam! The DIY kitchen makeover reveal is finally here! If you remember where we left off last week, a LOT of things still needed to happen. The lower boxes needed to be primed and painted, the lower door hardware needed to be installed (including jury-rigging a few of the latches), the island needed to be assembled, a light needed to be installed, and we needed to install the backsplash. Just a few things! But, we did it!
Here’s what we got done in the past week:
- Primed the lowers
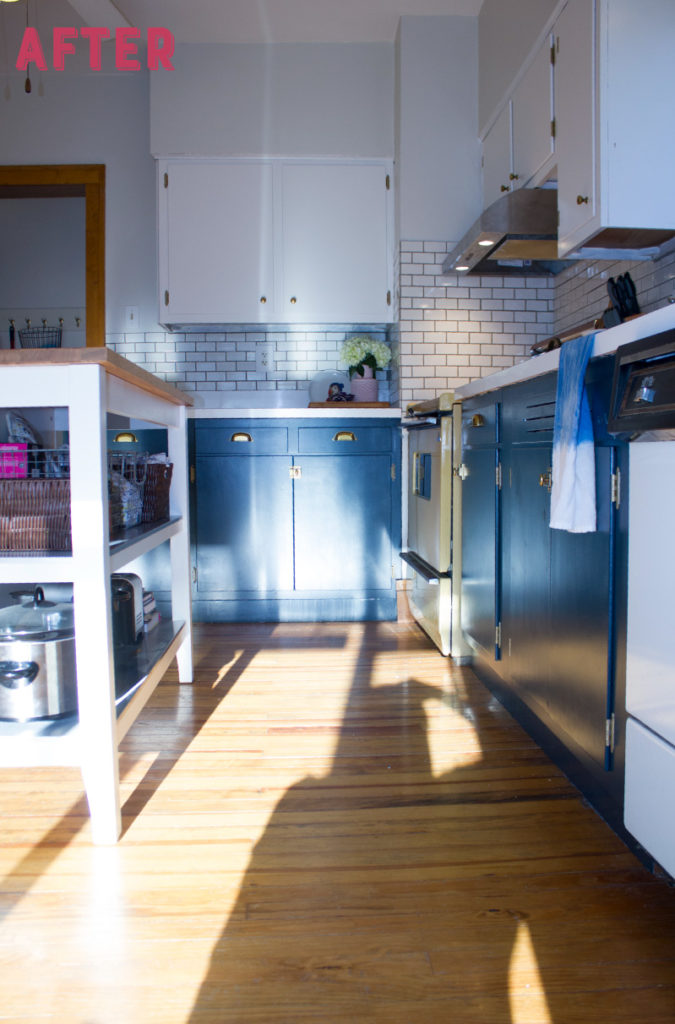
- Painted the lowers
- Tiled and grouted the backsplash
- Rehung the lower doors
- Installed the latches on the lower doors
- Assembled the island
- Touched up paint on both the upper and lower cabinets, as well as the walls
- Moved most items back into the kitchen
- A LOT of cleaning and styling
(Here are links to weeks one, two, three, four, and five for the rest of the progress)
While we didn’t get to a few things we wanted to (namely hanging the new light fixture, and getting new bar stools and a new curtain rod), I’m pretty happy with how things turned out overall. As we get to those details I’ll be sure to fill you in.
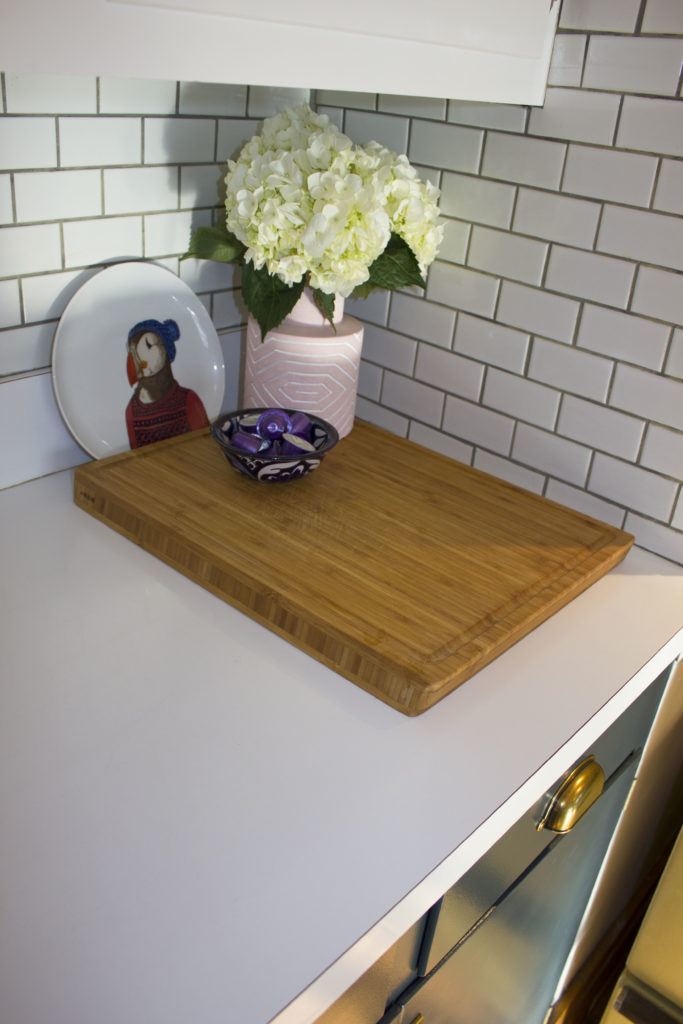
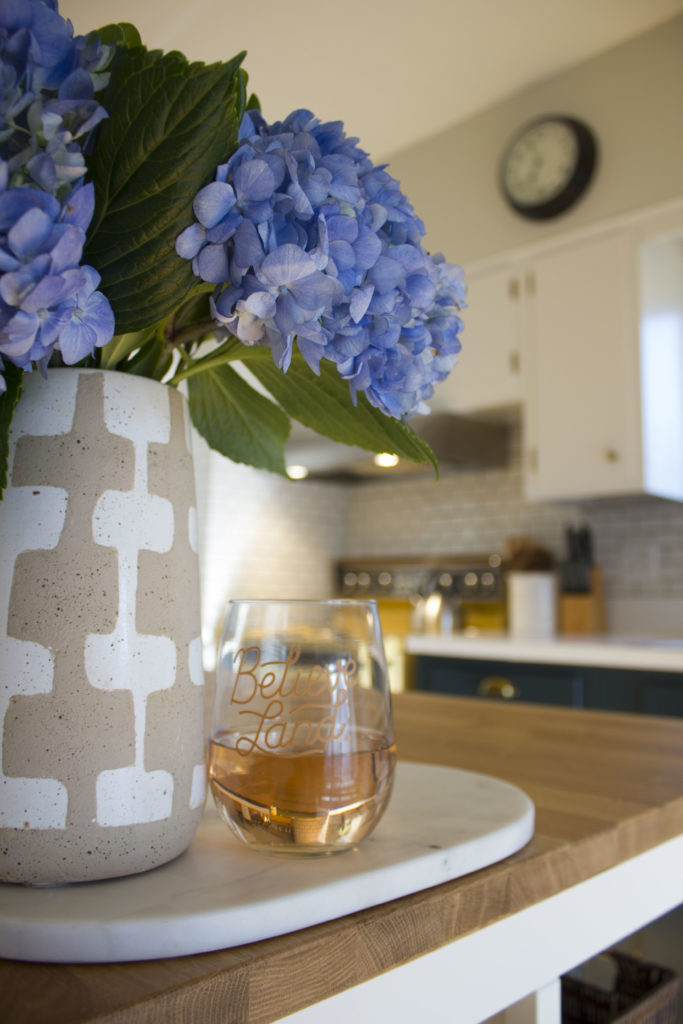
Obviously, the room could use some more styling, especially that blank wall opposite the sink.
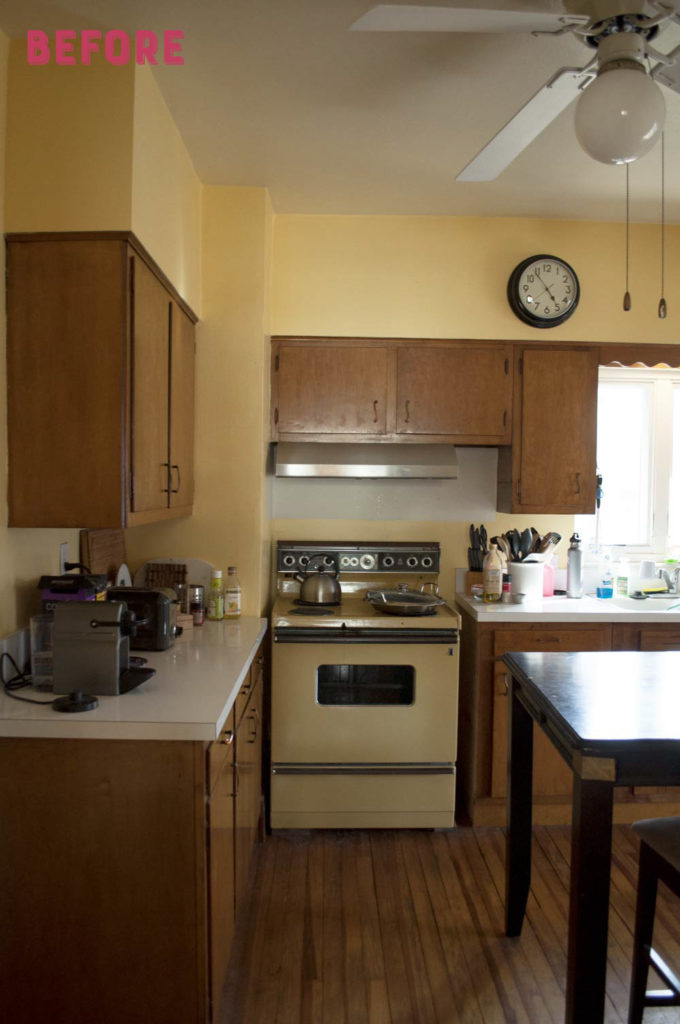
Somehow adding all this fun stuff makes our heinous 1970s harvest gold range kind of…cute? At the very least, I don’t hate it anymore.

Let’s talk overall investment for this DIY kitchen makeover. A super rough estimate puts me at about $1000 all in (including the island purchased three years ago) and at probably 90 total man hours. So all in all, not too bad of a commitment for such a big transformation! Here’s more of a budget breakdown for you:
- Cabinet hardware: $100
- Cabinet paint and painting supplies: $150
- Wall and ceiling paint: already had so $0
- Lighting: $75
- Island: already had but originally $400
- Tile and supplies: $300
Those 90 man hour I mentioned include about 40 being put in by me, my dad, and Zac this past weekend as we tiled the backsplash. I work best under pressure, so putting in most of the work the week before the deadline sounds about right for who I am as a person.
Hopefully, I’ll have a tiling post ready for you guys in the next few weeks since I wasn’t able to share that process during the challenge. We used tile mat instead of thin set on the walls and I have some thoughts about it. I also have thoughts about my new favorite thing: our wet saw.
Although the last week especially was stressful, I’m so glad we tackled this DIY kitchen makeover for the One Room Challenge. Having a firm deadline was crucial, as there were plenty of nights that I wanted to just chill out on the couch instead of sanding, painting, or tiling. Much like a few other projects around our house, this one had the potential to languish unfinished for months.
That’s it! As excited as I am to have this project behind us (and for my nails to go back to normal, instead of being wrecked by sandpaper and grout), I’m already itching to start on something new. Especially if it involves my new wet saw.
We joined the One Room Challenge as a Guest Participant this year. Hop over to the ORC site to see all of the great rooms.