TBH guys, Week Five has me a little crazed! Turns out when you only work on a project of this size like three days a week for a month, the last week is pretty hectic! COOL! Today’s update is all about cleaning original hinges and installing our new knobs, pulls, and latches. Let’s start with the activity that led to my biggest misstep of the project: cleaning original hinges.
If you need to catch up, weeks one, two, three, and four can be found at the links.
Cleaning Original Hinges
Because our doors are half-sunk, the hinges are harder to find than a standard door hinge. Instead of trying to find the right ones to replace the originals, I decided to just reuse what we already had. Plus, this meant being able to reuse the existing screw holes for the hinges. Three cheers for laziness!
The main problem was that the hinges had been stained and varnished along with the doors themselves. That, combined with decades of kitchen messes, meant that they needed to be cleaned up before getting put back on the newly-painted doors. I followed the tips of Daniel from Manhattan Nest for cleaning original hinges.
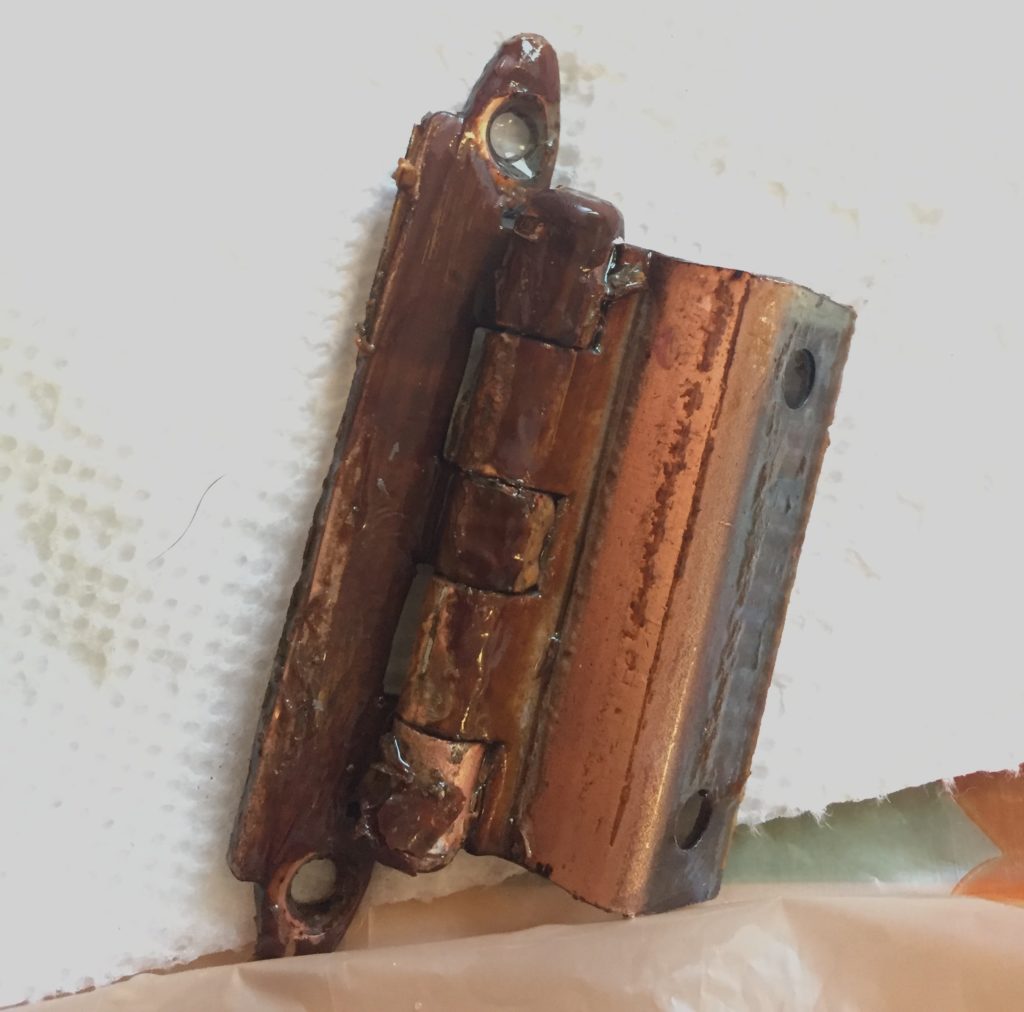
Basically, you just let your gross hardware marinate in an old pot on the stove with some water and dish soap for six to eight hours. In an effort to not poison myself or Zac, I bought a $6 pot and lid at the thrift store for this project. From there, I just cooked my hinges and screws all day while painting the doors.
Once everything was good and soupy, I removed the hardware from the hot water into a bucket with ice water. This helped everything loosen up even more (I’m guessing) and I used a sponge to clean up the hinges and screws in the ice water.
However, this still left me with a pot full of hot, gross, varnish water. Hot tip: even if you have to get through a baby gate and walk down a flight of rickety stairs carrying a pot of boiling water to do so, dump this stuff out in your utility sink. Definitely don’t just dump it down your garbage disposal so that your fiancé, who was reluctant to even back this whole project in the first place, has to spend a good hour fixing your broken garbage disposal when he just wanted to watch Westworld after a long weekend. Hypothetically speaking, of course.
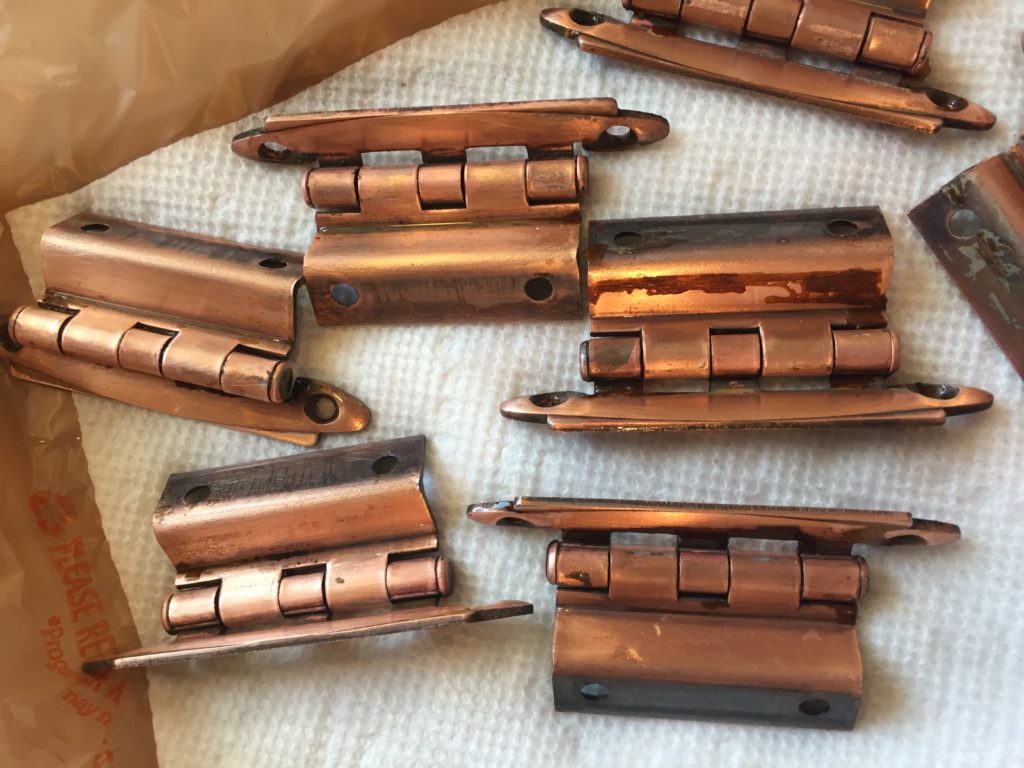
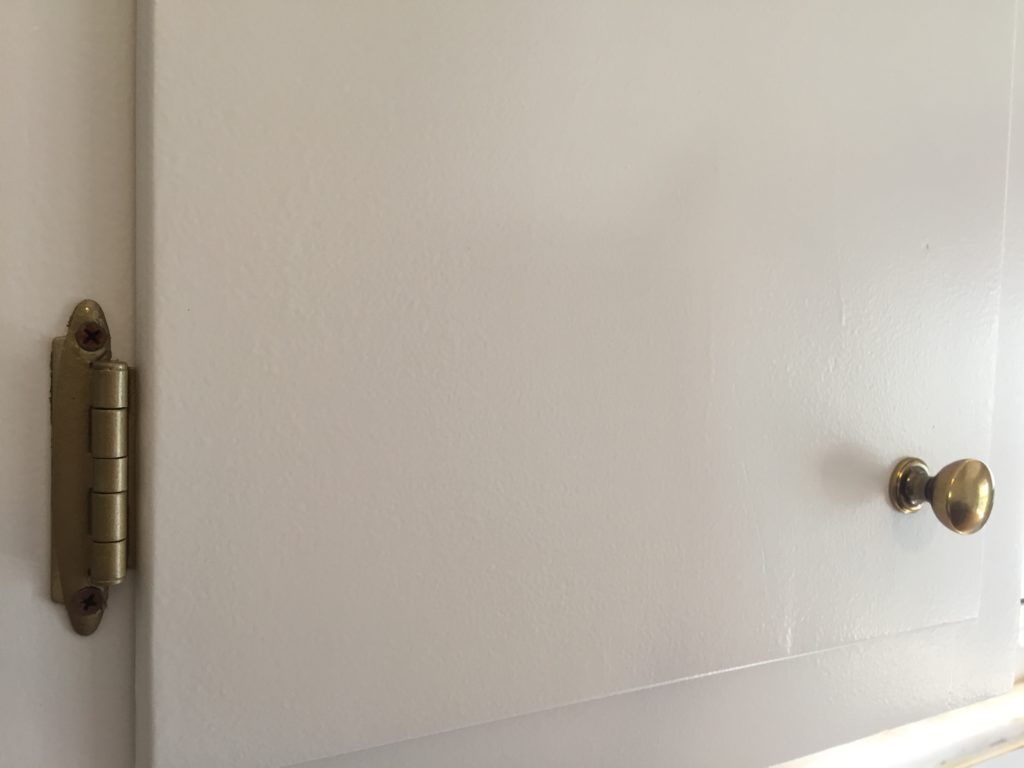
Anyways, with all of the old varnish stripped off, we were left with shiny copper hinges! So nice! Not quite the look we’re going for with our cabinetry, though. So, I turned once more to the wise John and Sherry of Young House Love and decided to spray paint the hinges. Following their suggestion, I used a metal spray primer before hitting the hinges with two coats of gold spray paint. From there, I rehung the doors using the original hinge holes on both the doors and the boxes.
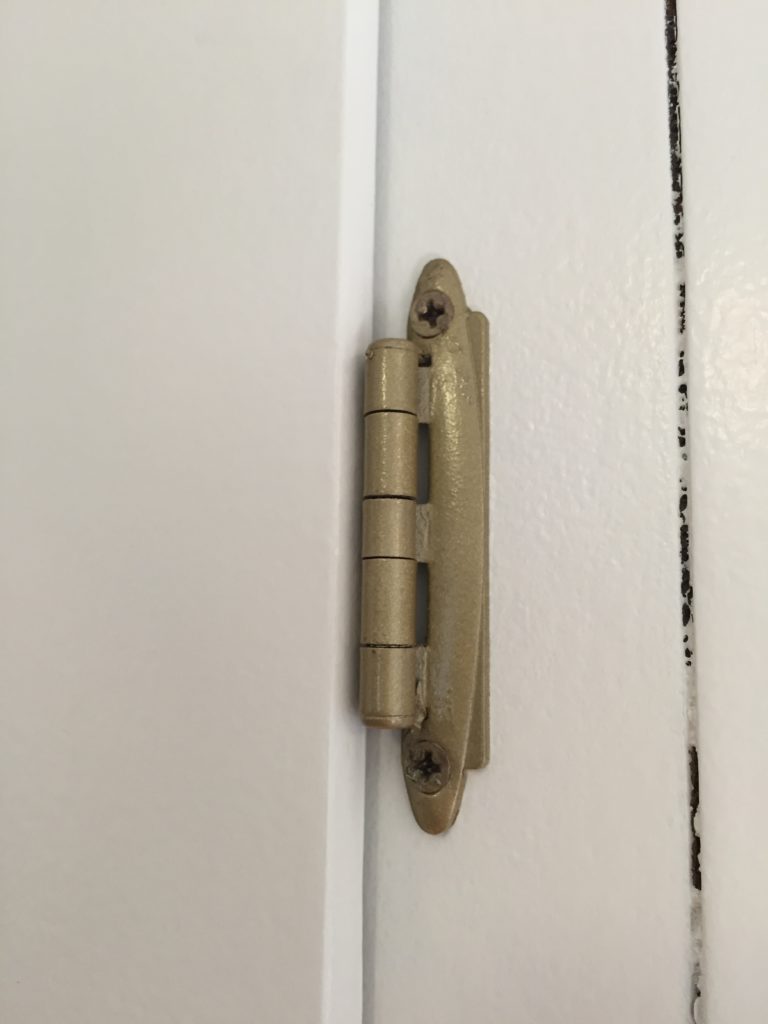
Then I sprayed some of the gold spray paint onto a paper plate and used a craft brush to cover the screw heads.
The gold paint and the gold of the hardware don’t exactly match but guess what? I just don’t care anymore! Moving on.
Installing the New Hardware
Weirdly, one of the things that had me the most nervous about this whole thing was installing new door and drawer hardware. In news that I’m sure is shocking to everyone, I’m not a very patient person and don’t really care about things like precise measurements or, you know, accuracy. That perfect storm means that I had a pretty good chance of messing up my hardware placement (hence why I used the existing holes for the uppers).
But of course, our lords and saviors John and Sherry came to the rescue once more. In their post about refinishing their cabinets, they mentioned using a template when installing their new hardware. So I did what any fangirl would and just bought the exact same one.
This handy little tool made the drawer pull install so much easier. Basically, I measured out the middle of my drawer front, lined up the center hole on the template with my center mark, then marked the holes that matched up with my 3-inch pulls.
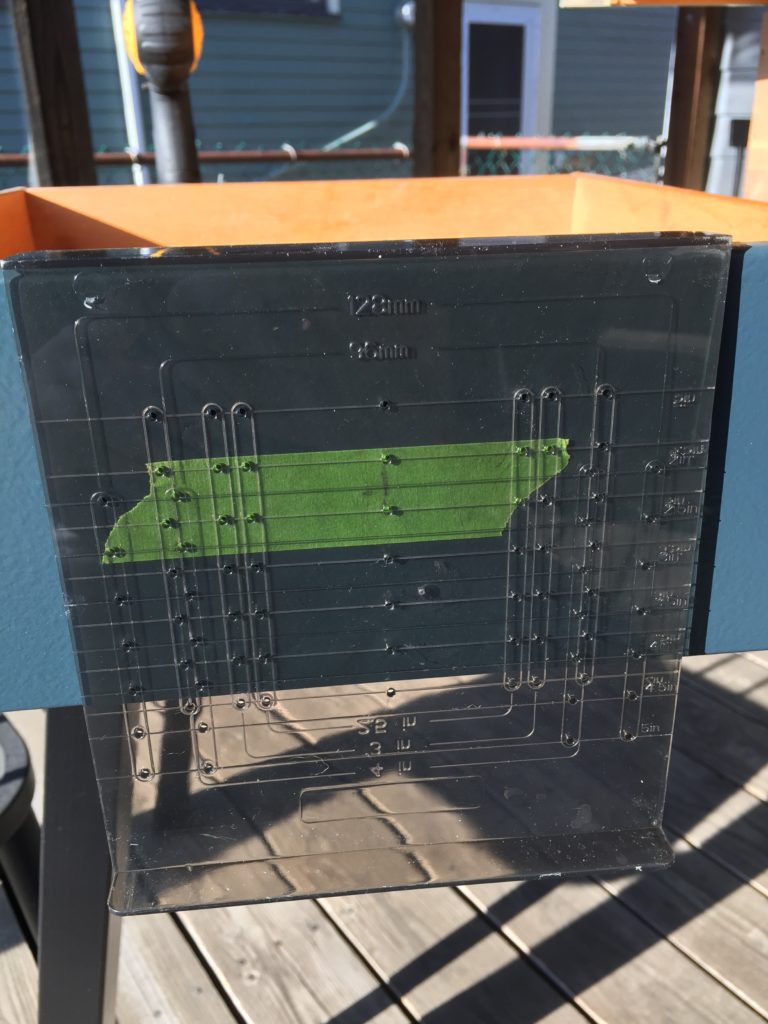
From there I just drilled the holes for my screws and got everything attached.

I’d love to show you how I installed the latches but that would require me to have done that already. Things are going super well!
I can’t believe the reveal is next week! Especially since I still need to install a backsplash! And paint the lower boxes! Looks like I’ll be pulling some late nights this week. Come on back next week for the final look and maybe some more information about how I (hopefully) pull this off!
WE JOINED THE ONE ROOM CHALLENGE AS A GUEST PARTICIPANT THIS YEAR. HOP OVER TO THE ORC SITE TO SEE ALL OF THE GREAT ROOMS AND COME BACK TO US NEXT WEDNESDAY FOR THE REVEAL!