Well, I can definitively say there’s nothing like posting before pictures and committing publicly to a tight timeline to light a fire under me! This past week saw some great progress on my kitchen One Room Challenge project and I think we’ve finally nailed down most of the decisions. Let’s get into the details.
Painting the Walls and Ceiling
Before selecting cabinet colors, we needed to give the kitchen walls a fresh coat of paint. We went with Behr Silver Drop, which is the color we’ve used most often throughout our house. It’s a good neutral that looks different depending on the lighting but pairs well with the original wood trim we have around our 100-year-old house.

Michelle was the official cutter-inner of our paint job, and having her help made the task go by much quicker. Between Friday night and Saturday morning, we had the ceiling and walls done by mid-Saturday!
With the wall color set, we could start testing cabinet colors.
Picking Cabinet Colors
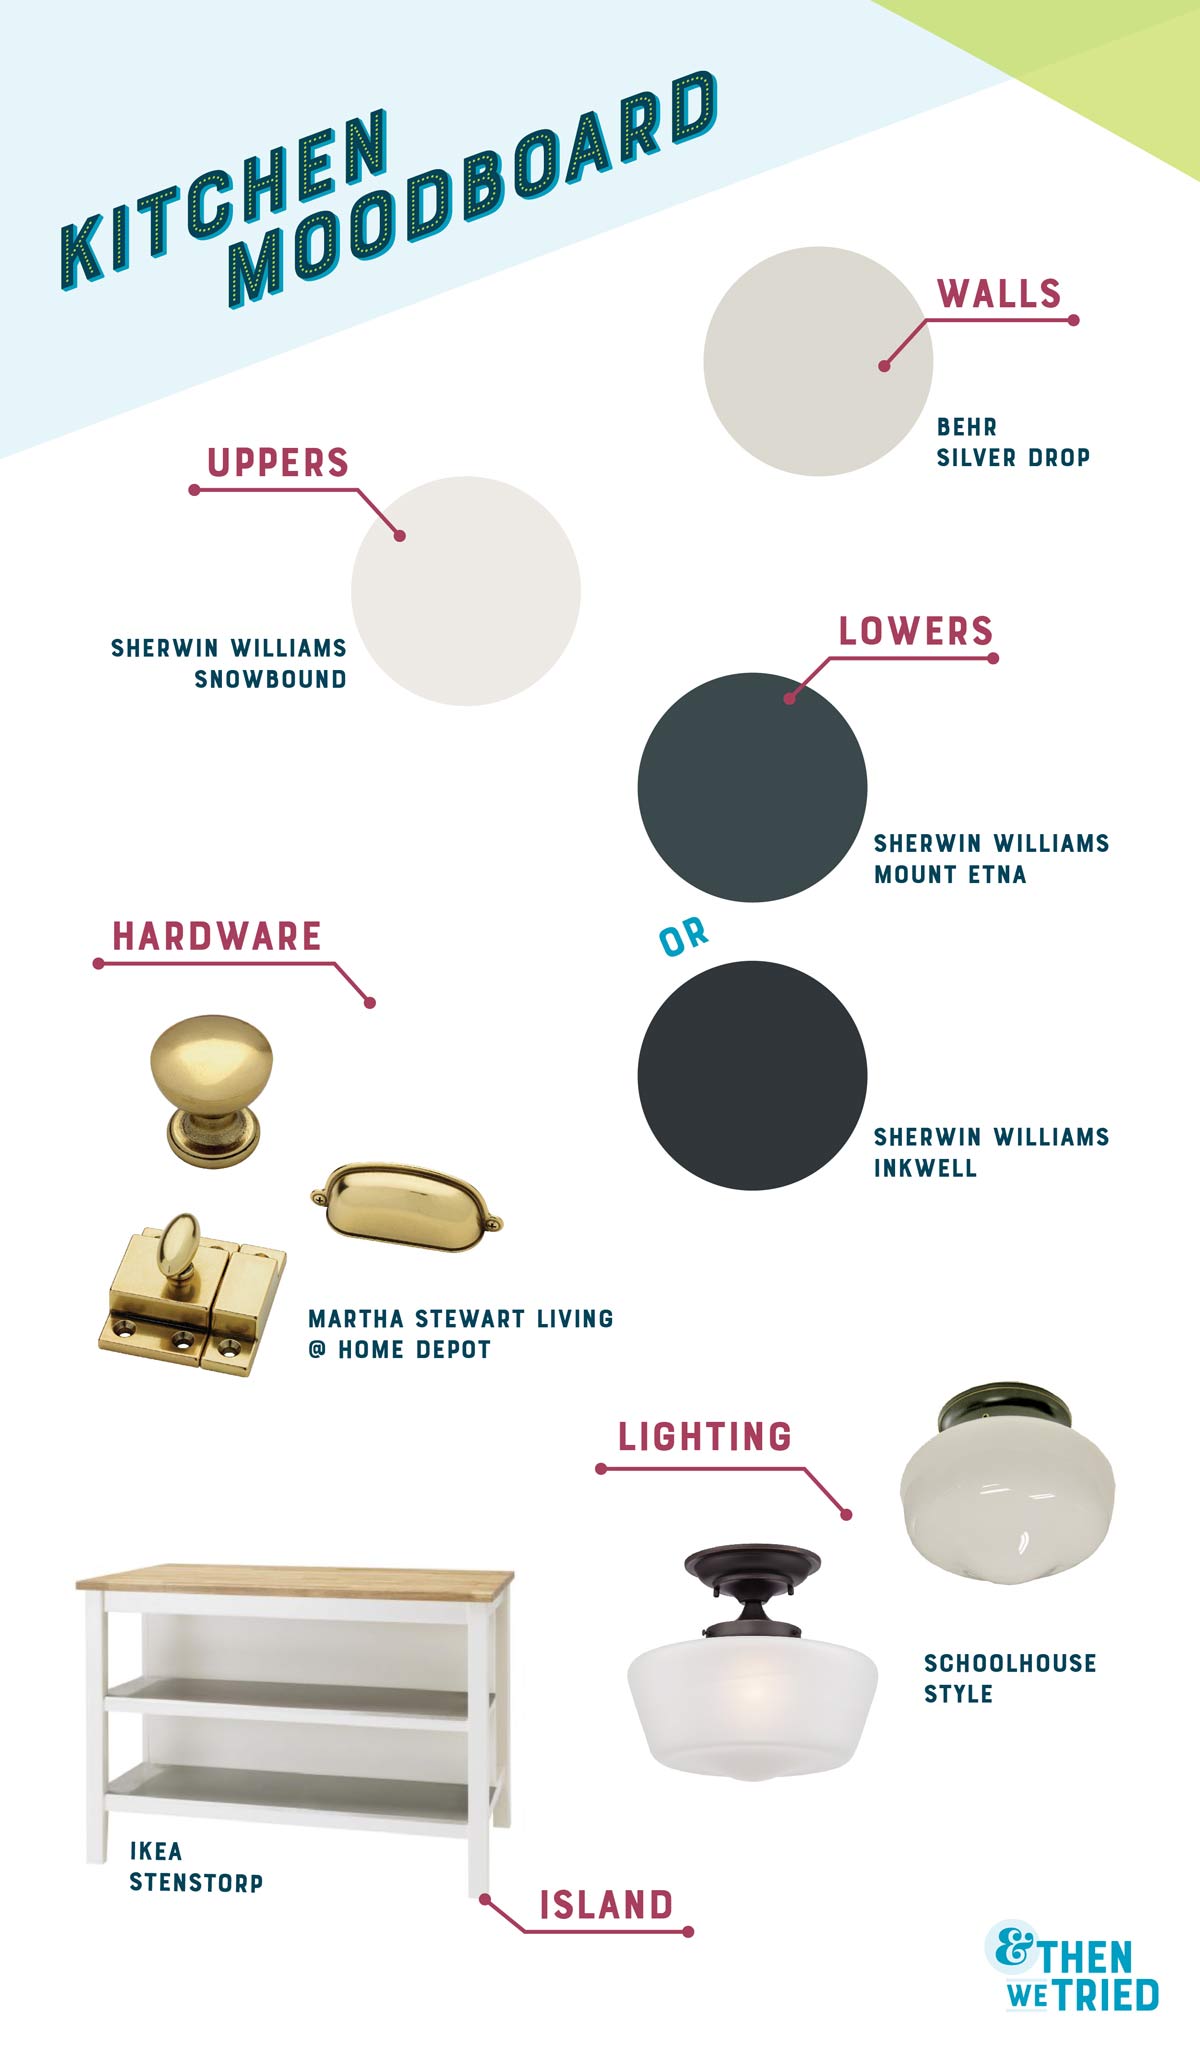
I had grabbed a bunch of color swatches from our local Sherwin Williams earlier in the week to get the selection process started. The upper cabinets will be painted white and we knew we wanted the lowers to be a dark blue or green. After sorting through the dozens of white paint samples at the store and then comparing them to the wall color at home (in various lighting, of course), we landed on Snowbound. We got a test pot just to be sure and it’s the winner!
For the lower cabinets, we were torn between Inkwell (Zac’s pick) and Mount Etna (my pick). We got test pots of both and threw some swatches up around the kitchen. We’re still undecided so I’ll fill you in on the winning pick next week!
Starting the Cabinet Prep Process
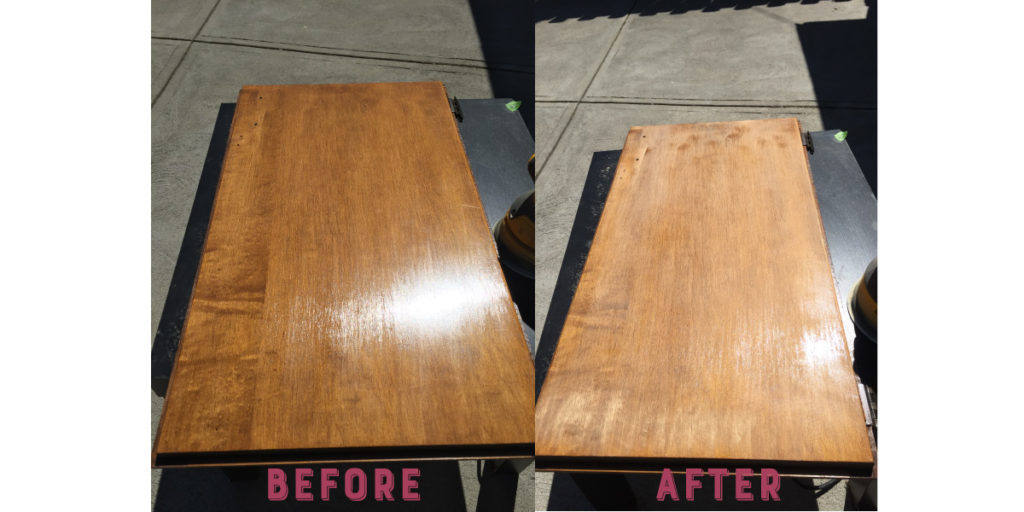
While we were debating paint colors, we started prepping the cabinet doors for paint. We’re following Young House Love’s method for cabinet painting, and on Sunday I sanded the upper cabinet doors and all the drawer faces with a low grit sandpaper. Next, they need a pass with a higher grit, followed by some liquid deglosser. After that, it will be time to prime!
We also need to fill some holes on the doors, which we didn’t do beforehand because we hadn’t picked out our hardware yet.
Picking Cabinet Hardware
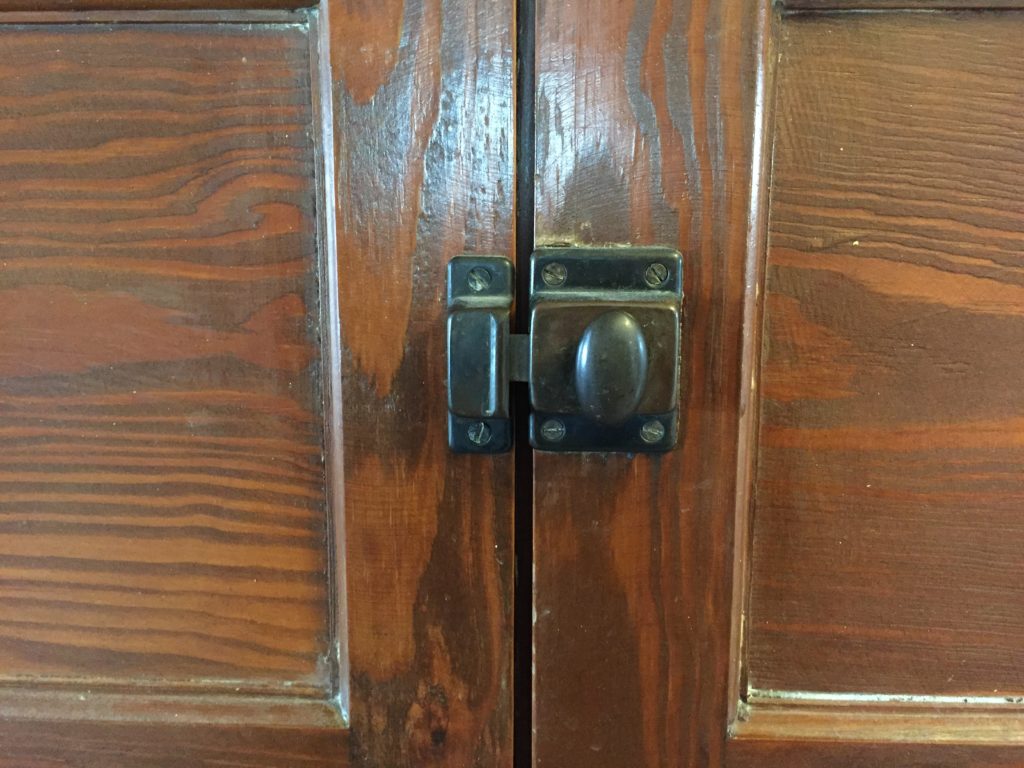
When it came to picking out cabinet hardware, I was a little slow to start. I couldn’t figure out what I wanted in here, I just knew that I wanted it to be classic and in keeping with the era of the house. We have an awesome latch on the linen closet upstairs and bin pulls in various spots around the house, so I was hoping to find something similar for our cabinets.
The other challenge with the hardware was sticking to a budget. We’re trying to keep costs down for this refresh, so my goal was to spend no more than $5 per piece of hardware.
But perhaps the biggest challenge of all? Parsing Zac’s preferences when it came to our hardware picks. When I proposed the idea of having latches paired with bin pulls, Zac wasn’t thrilled about the idea of unlatching our cabinets every time he wanted to open them, especially for the more frequently used uppers. So I proposed using knobs on the uppers, bin pulls on the drawers, and latches on the lowers. Here are two things he sent me during that conversation (which took place over Gchat, which was my first mistake):
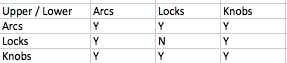
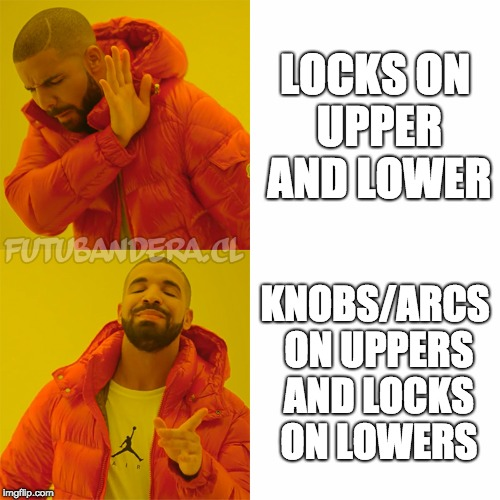
I still don’t understand what that chart means. As for Drake, it’s important to know that “arcs” are what Zac calls pulls.
So.
I ordered the knobs, bin pulls, and latches to see how he feels about them when they’re all together. Once those arrive we’ll be able to see which of the existing screw holes on the doors can stay and which will need to be patched.
Replacing the Lighting
The final choice that we made this week was for our lighting. We have space for a flush mount light in front of the sliding door, so replacing that will be pretty straightforward. More challenging is replacing our ceiling fan in the larger part of the kitchen. We never use this fan (especially since installing our vent hood) so we want to replace it with something prettier.
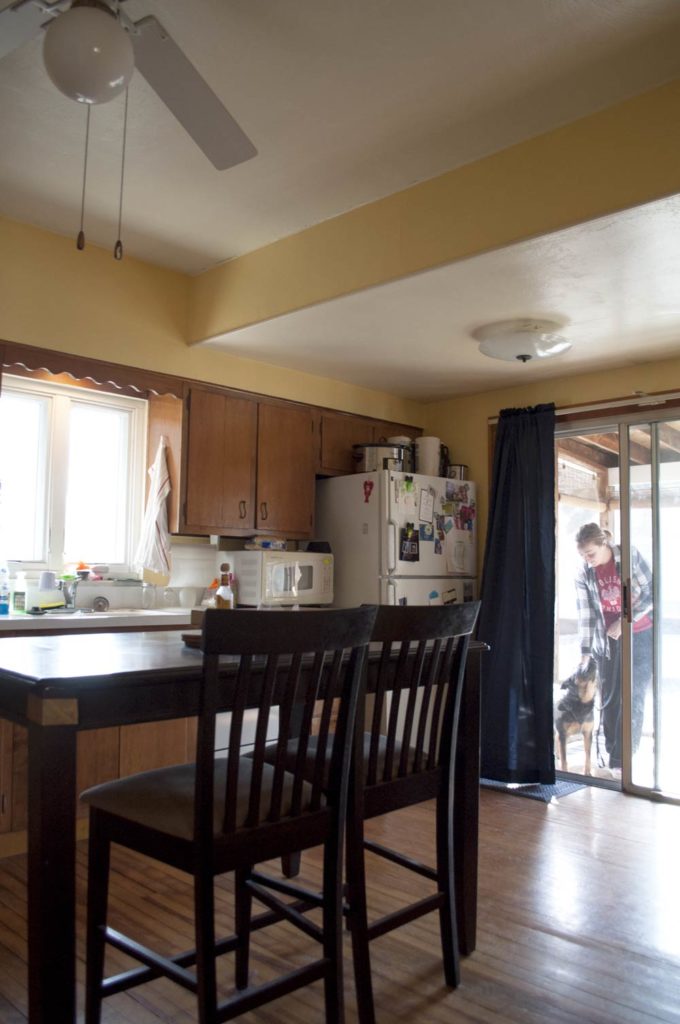
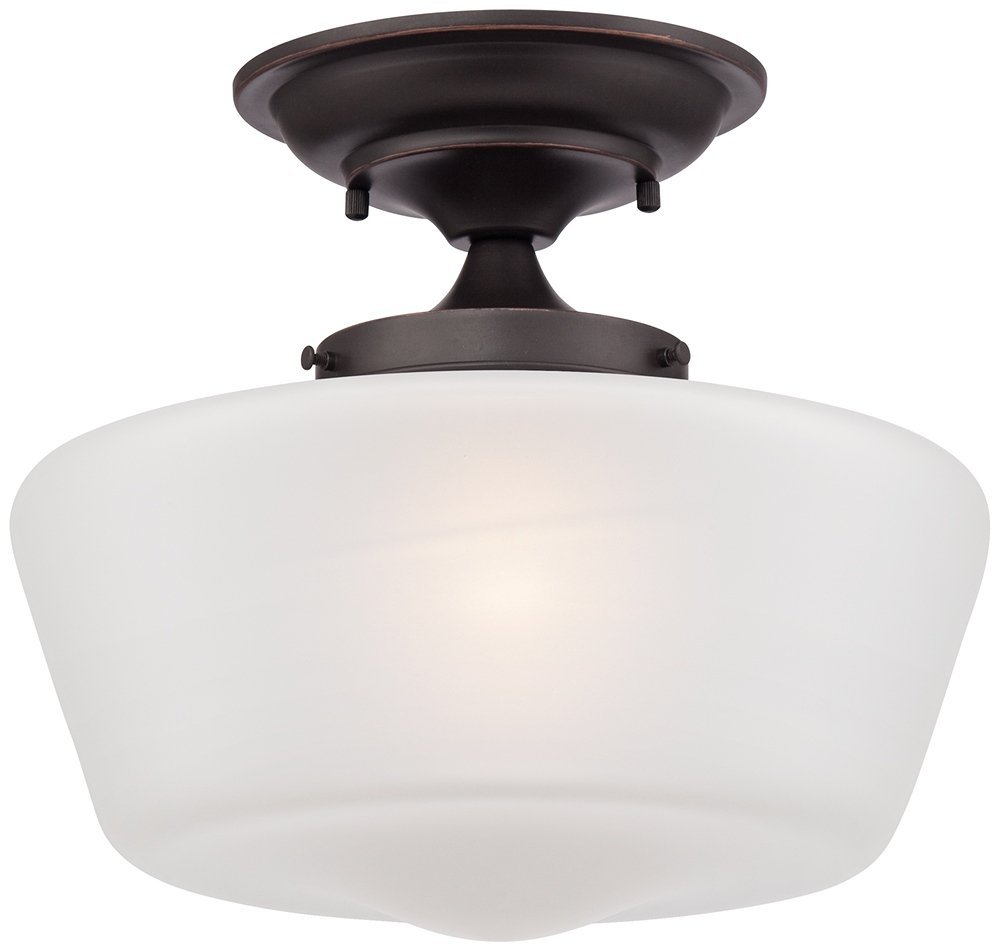
The ceiling fan is centered on that section of the kitchen, not the entire kitchen overall and not where the new island will be (same spot as the current table). Again, due to budget, we’re hoping to just replace the fixture as opposed to bringing in an electrician to move things around, so putting in any sort of pendant is out. Instead, we need to find a substantial but not too scene-stealing light fixture to coordinate with the flush mount near the sliding door. Here is a current front-runner:
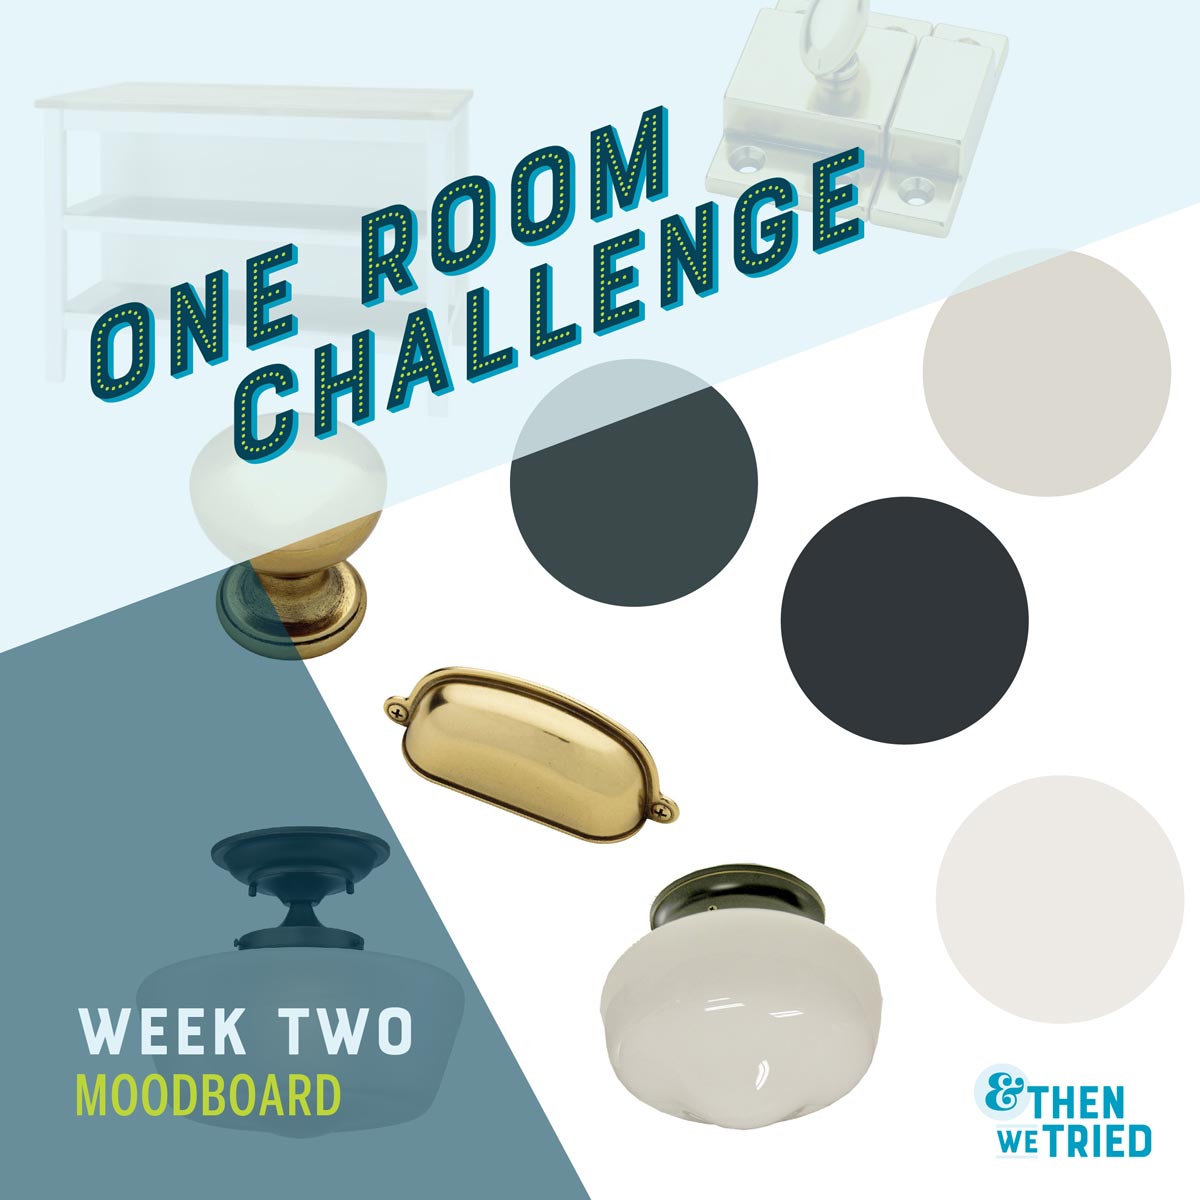
So, that’s our progress for week two of our kitchen One Room Challenge! A mood board with all of our decisions is below. If you need me, I’ll be sanding cabinets and never making another decision ever again.
We joined the One Room Challenge as a Guest Participant this year. Hop over to the ORC site to see all of the great rooms and come back to us every Wednesday for the next four weeks to see our progress!