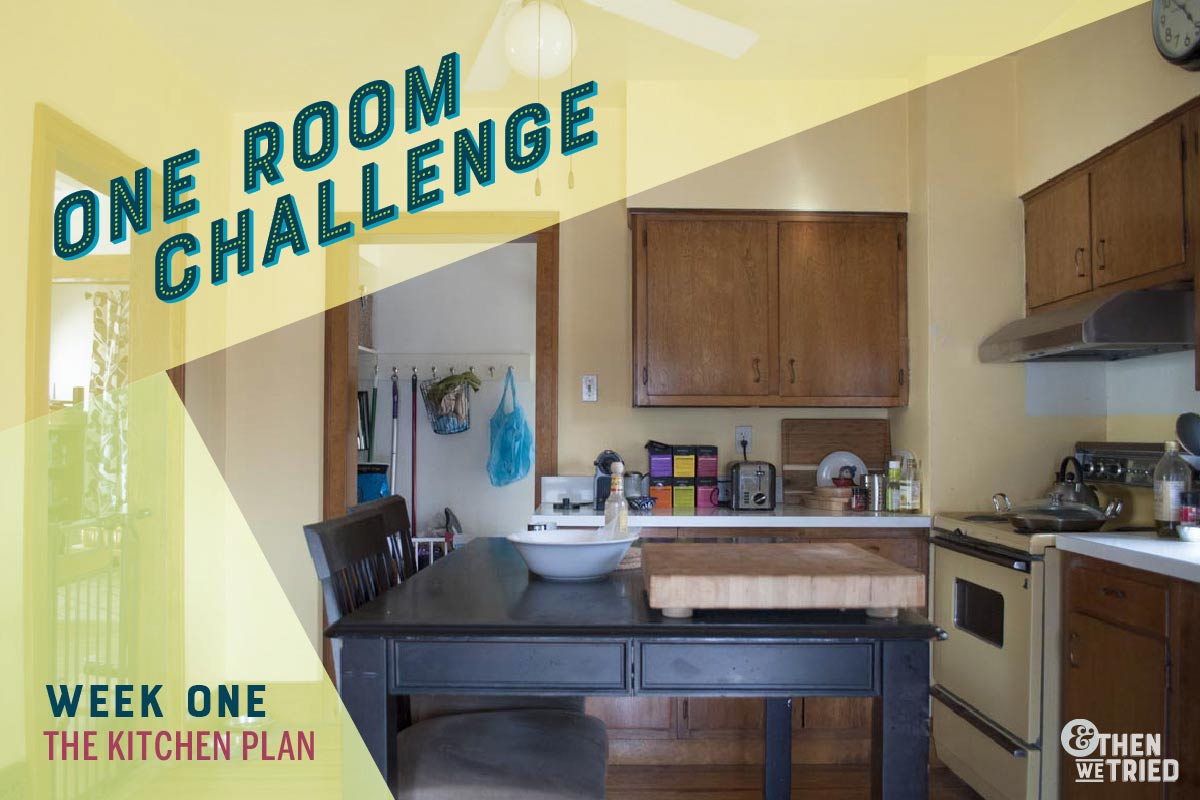
It’s One Room Challenge time once again! Last spring, Robin overhauled her deck in just six weeks. This year, I’m taking on the challenge. So, welcome to the before of my kitchen One Room Challenge!
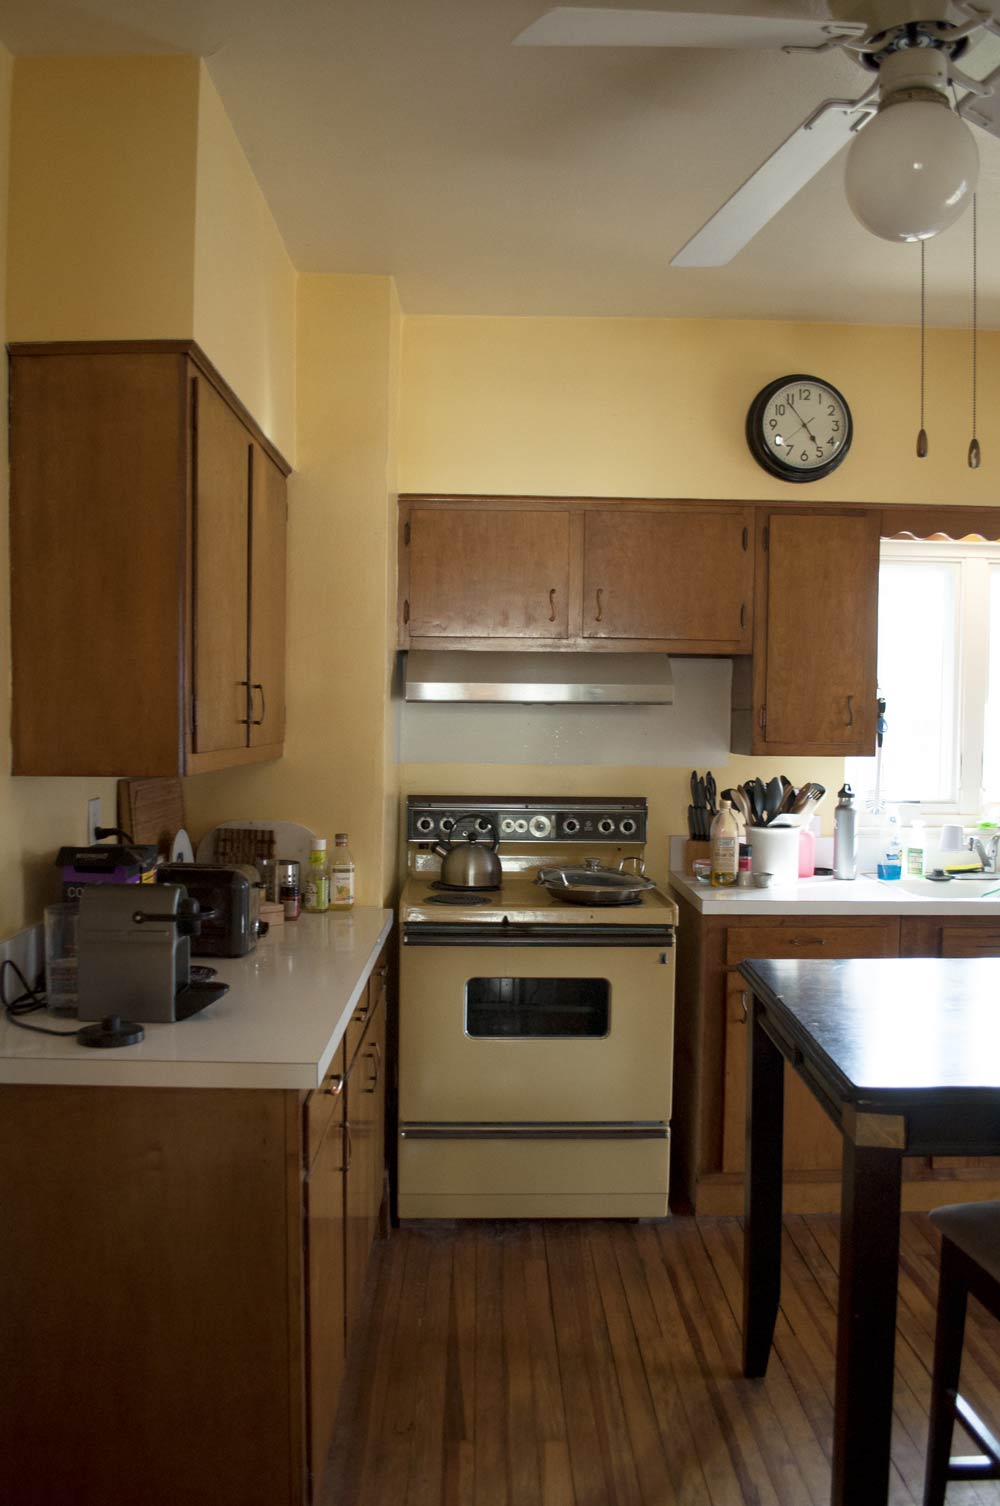
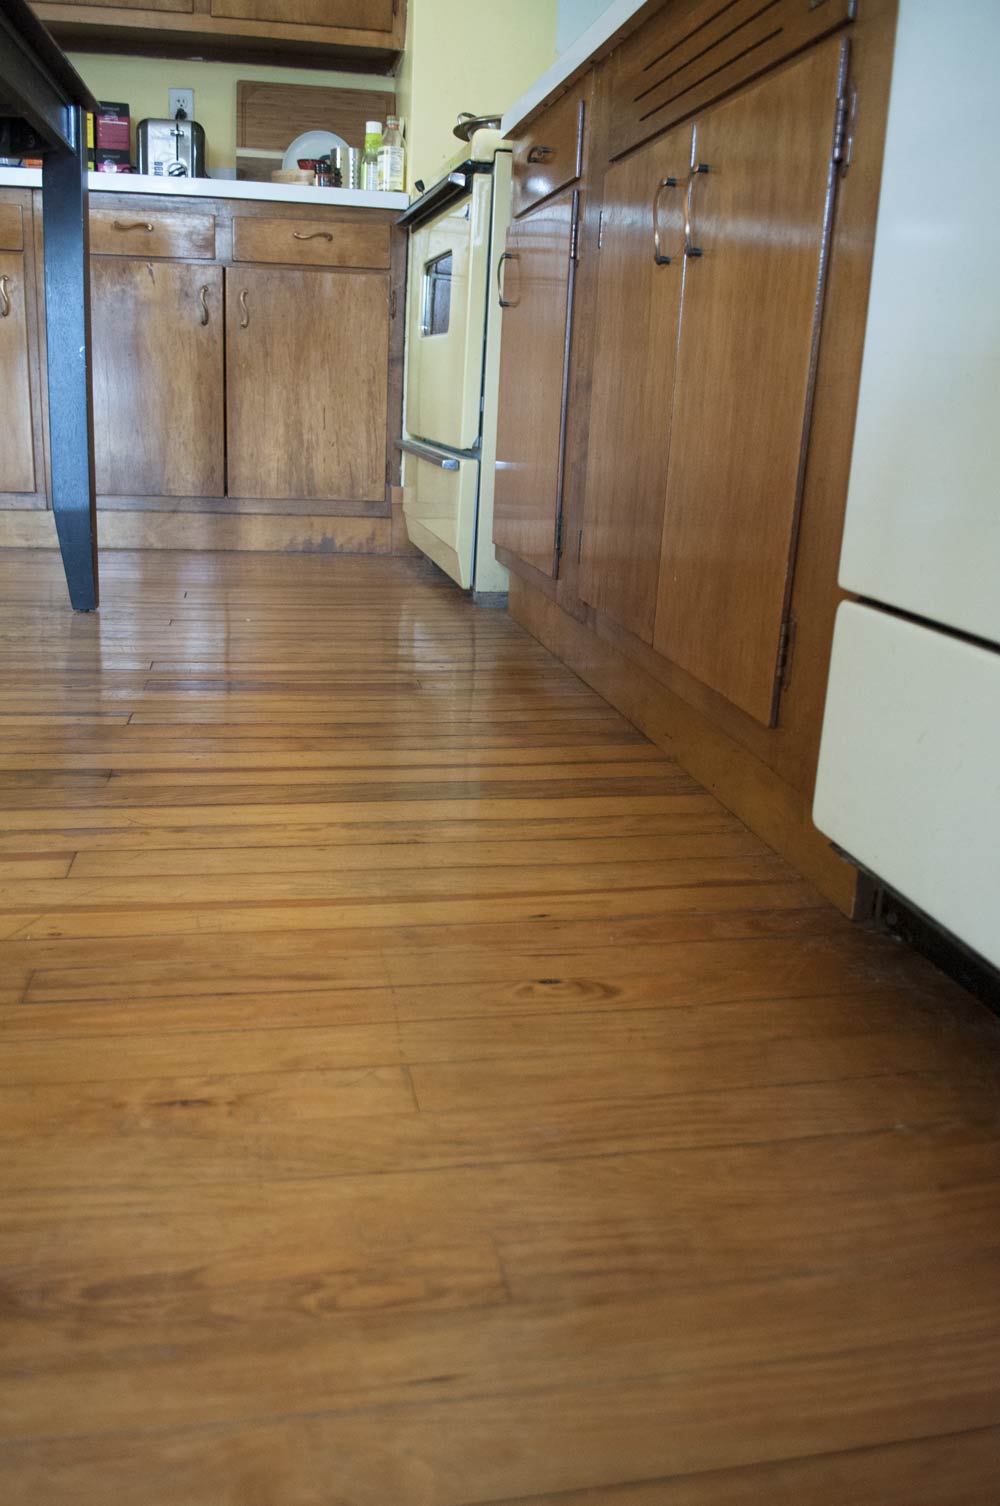
Here’s what our kitchen currently looks like, as you may have seen when we put in our vent hood.
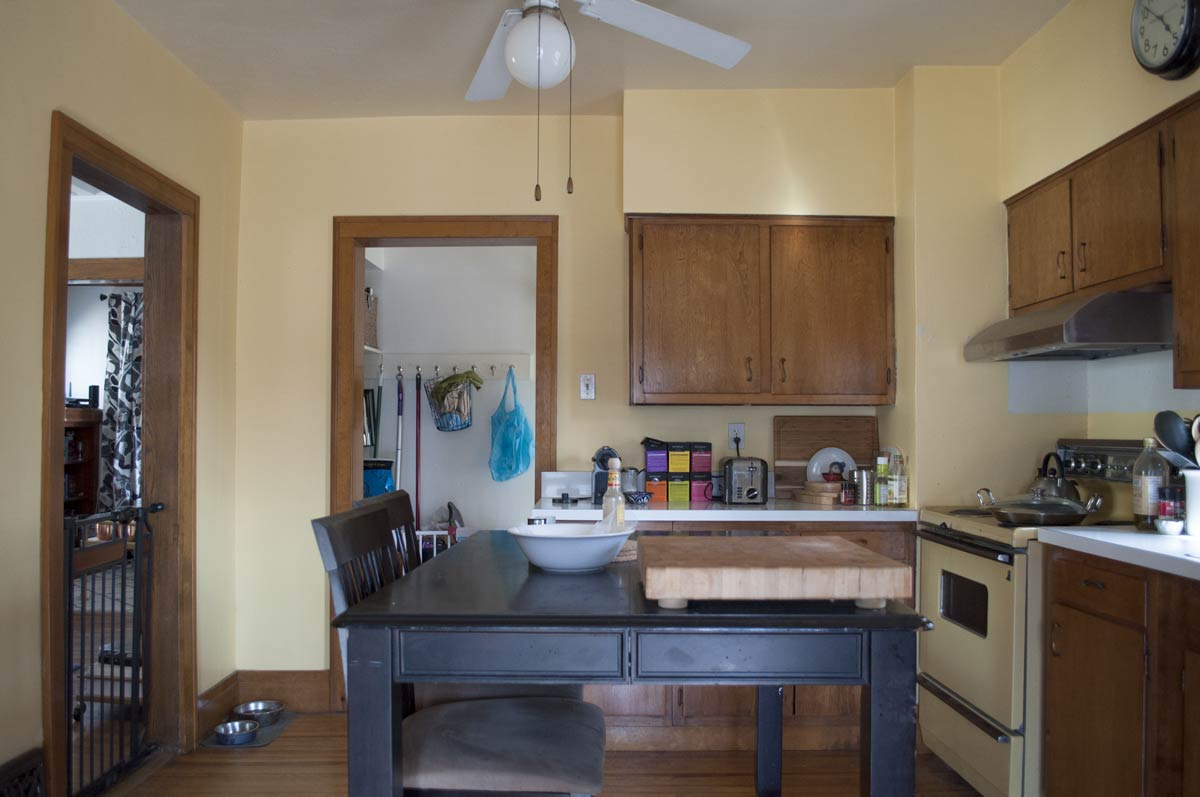
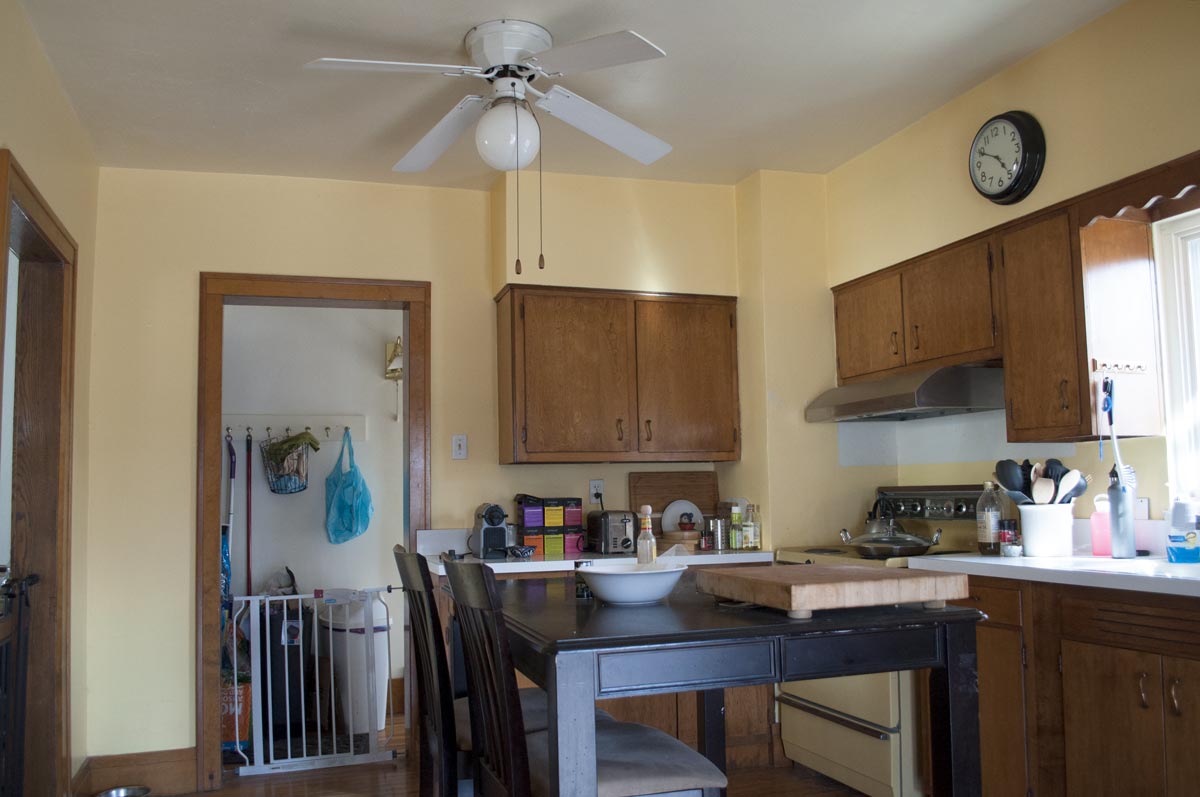
Please note the baby gates to keep our child, Cricket, contained during the day.
It’s a big space, especially for an old home, and it leads right out to our screened-in back porch. When we moved in, we put a hand-me-down high top table and stools in the middle and called it a day.
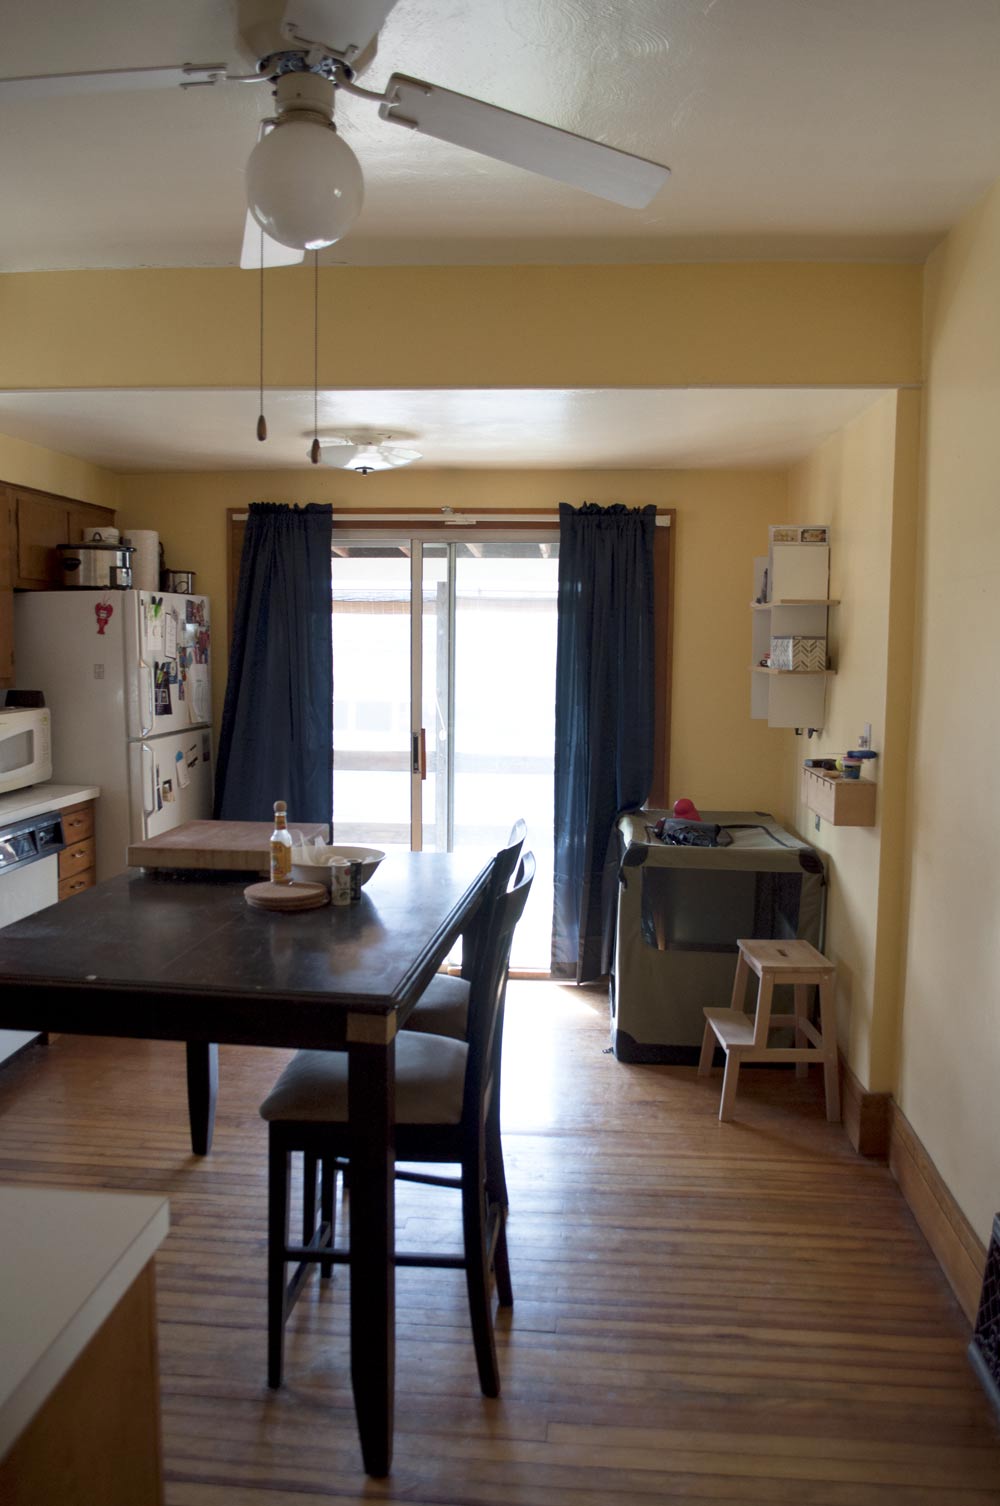
We almost never sit at this table. It does serve as the main prep station on the rare occasion that cooking actually happens in here, though.
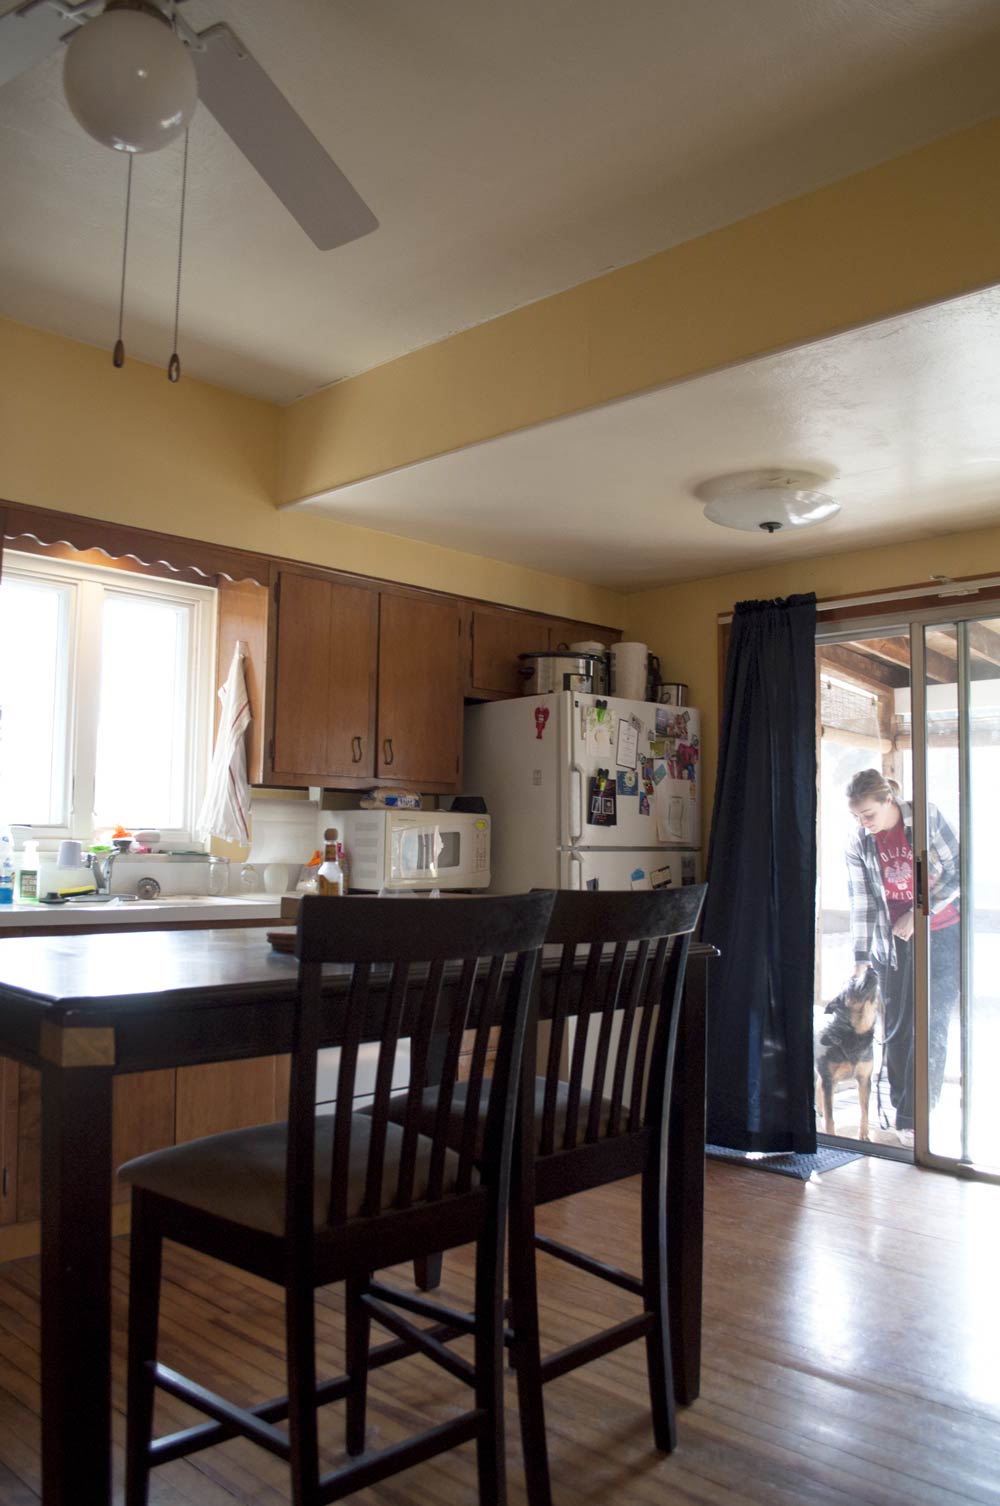
While it’s not the best aesthetically, this kitchen actually meets a lot of our needs. We have functioning appliances and a decent amount of storage, albeit no dedicated pantry. So although it’s not the prettiest, the kitchen is definitely fine.
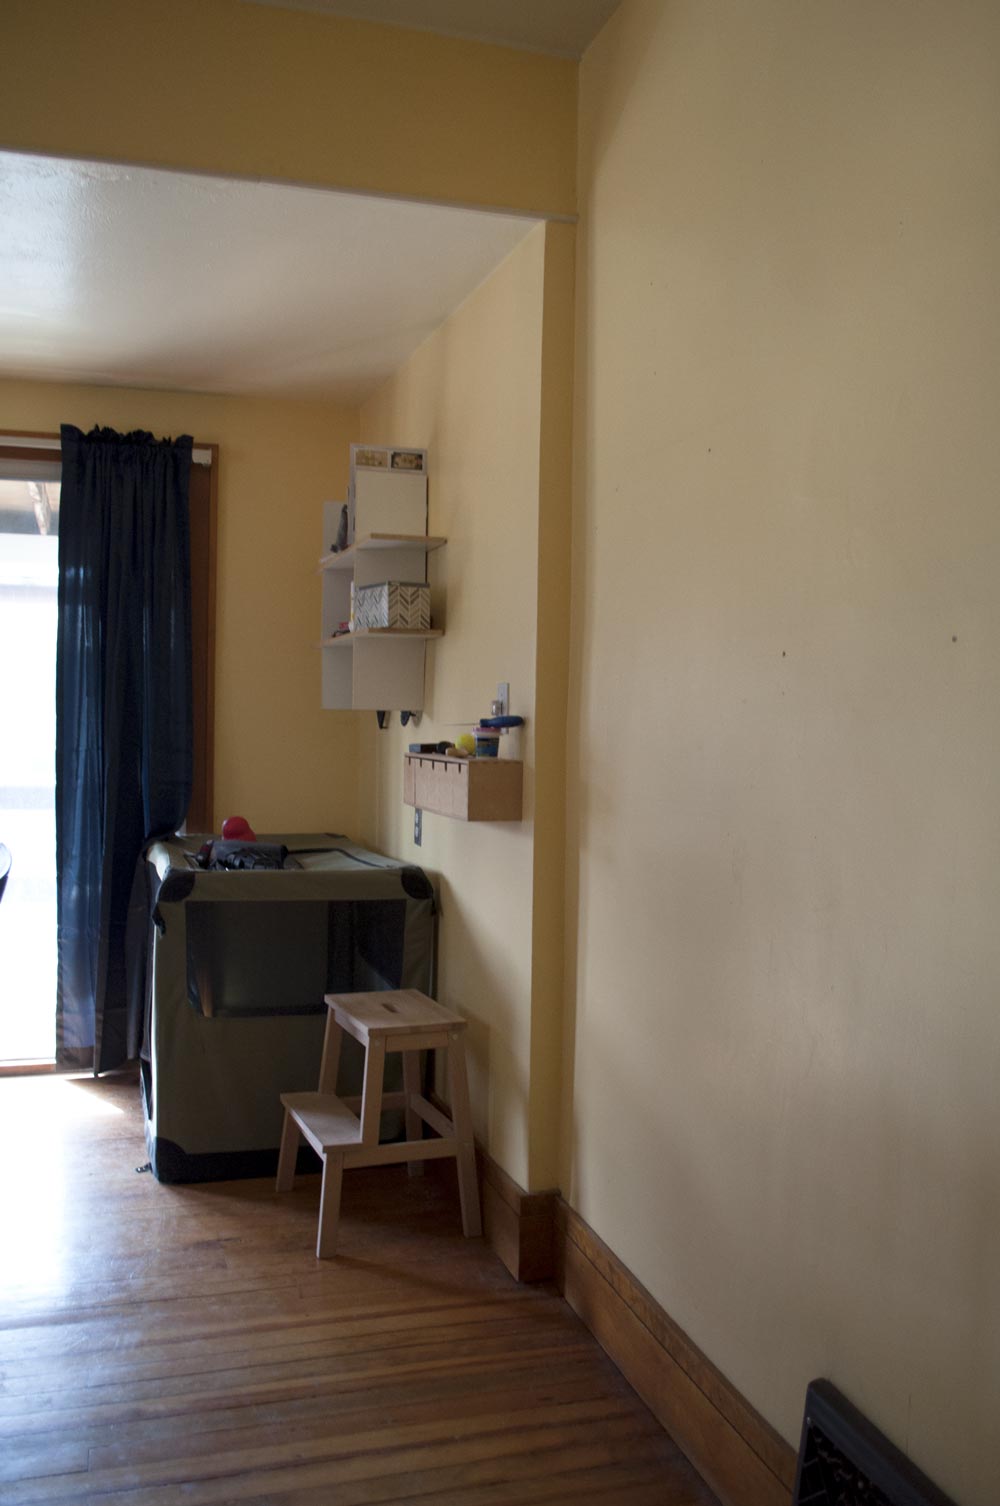
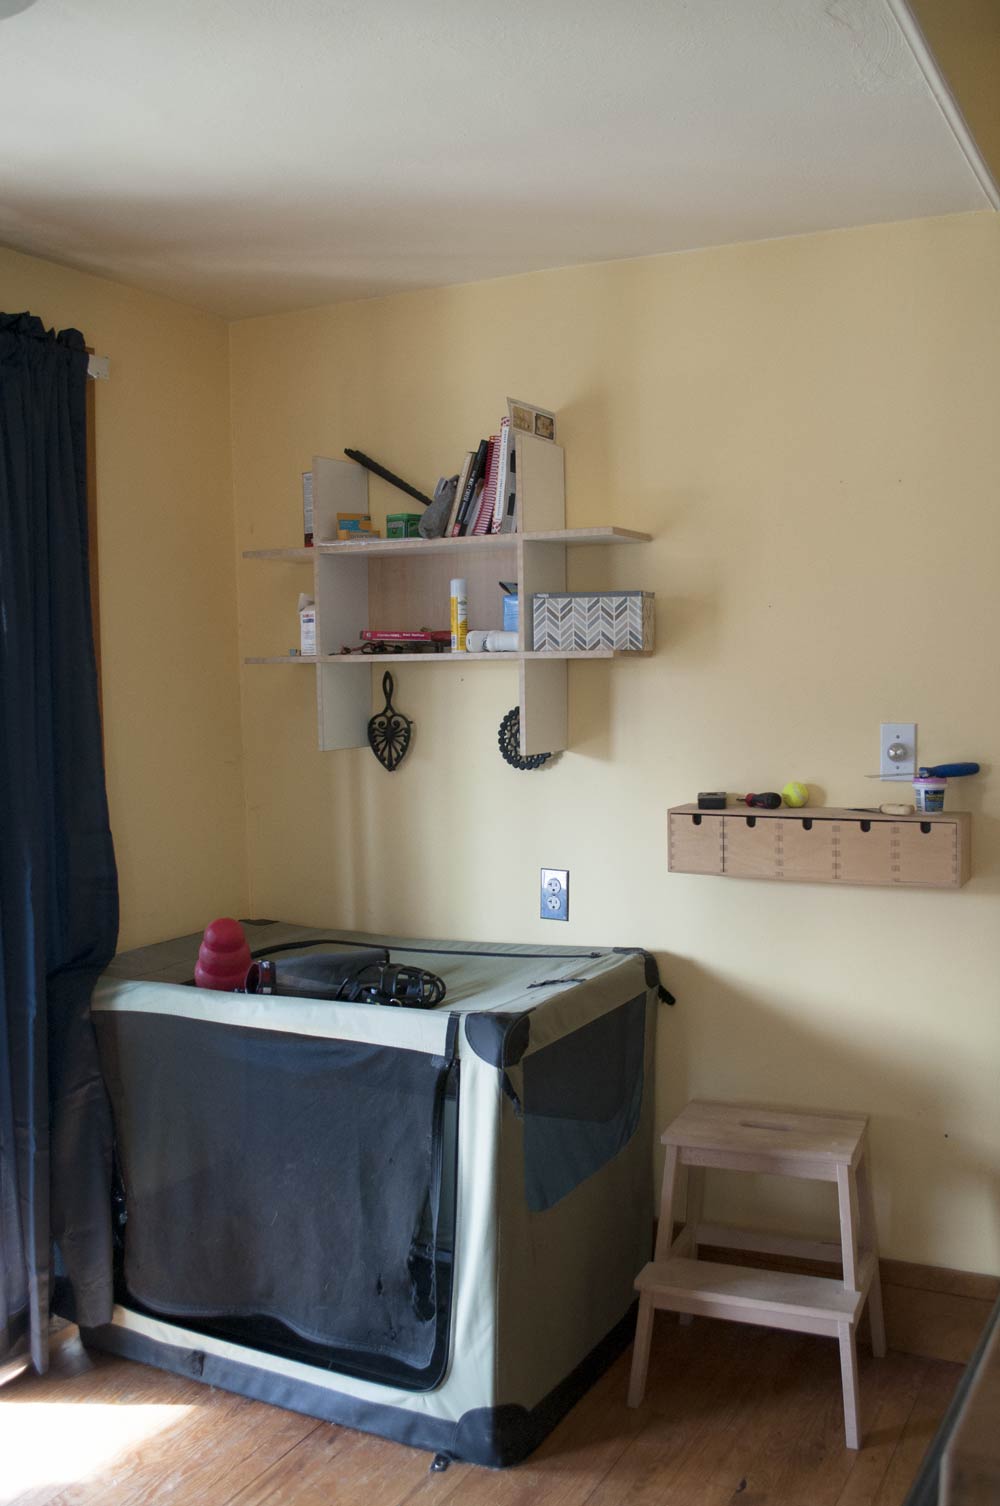
So, here’s the scope of the project for the next six weeks. Because of some aforementioned financial restrictions, this is phase one of our kitchen overhaul. Phase two would ideally include adding in some more cabinetry and creating a coffee station where Cricket’s cage is now and replacing the appliances and light fixtures, but all of that is beyond our very limited budget right now. Instead, we’re doing the following:
- Painting the walls, most likely the same color as the majority of our house
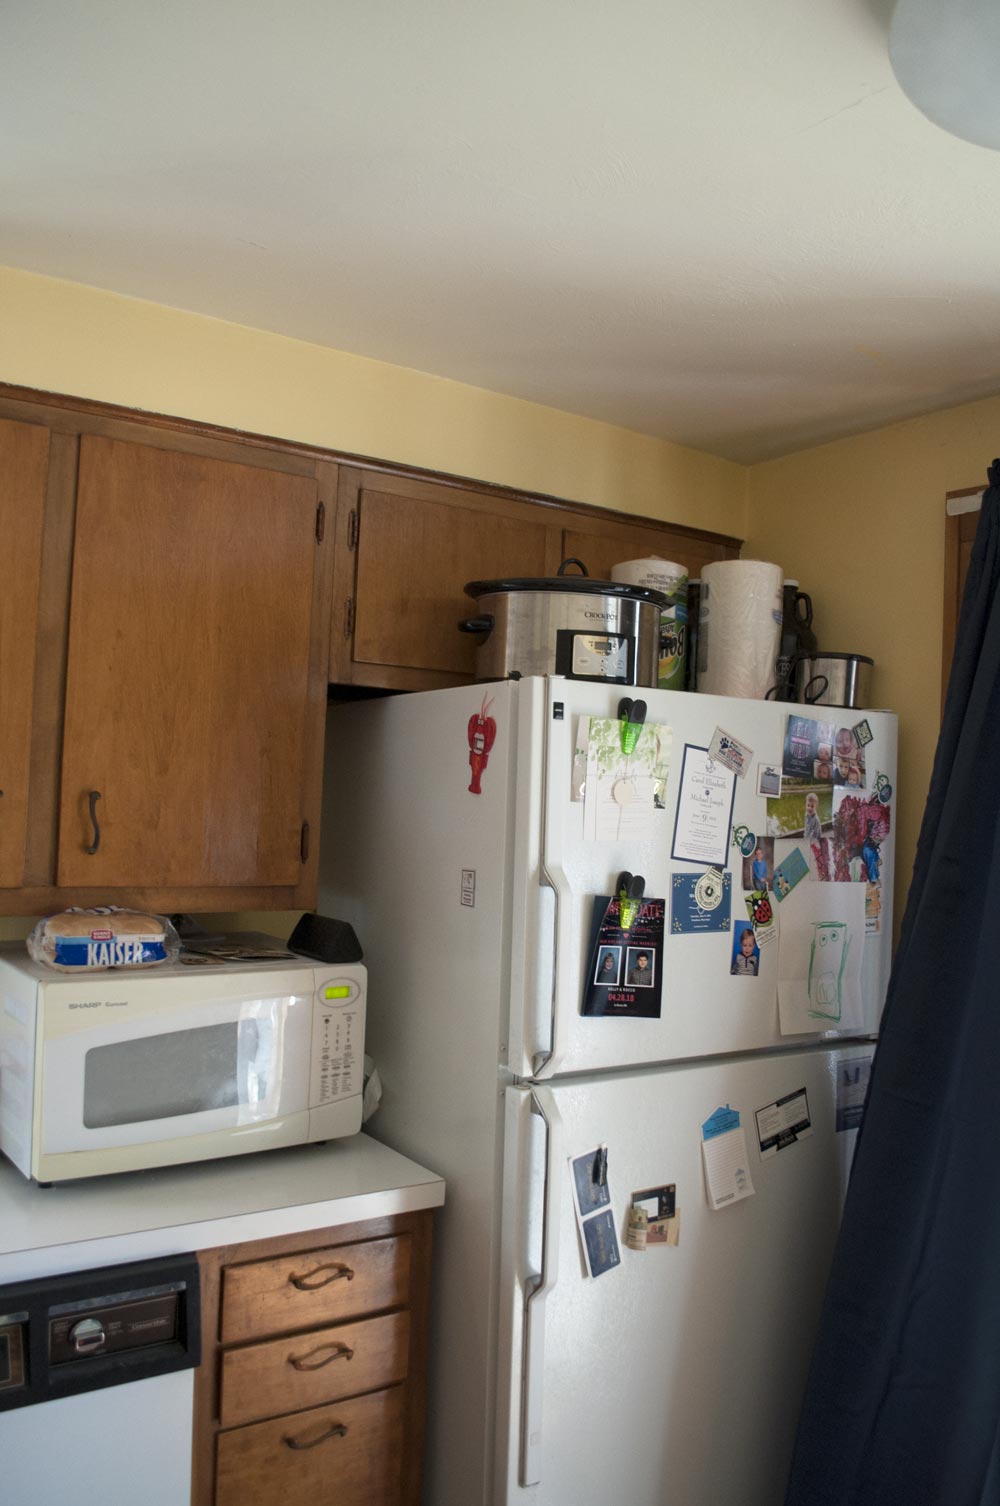
- Painting the upper cabinets white
- Painting the lower cabinets a contrasting color (actual shade TBD, but probably navy because have you met me?)
- Replacing the cabinet hardware
- Tiling the backsplash
- Assembling the Ikea island that we bought three years ago and has been sitting in the garage ever since
- Some other minor cosmetic and styling updates
Basically, we’re hoping to use a lot of paint and things we already to have to make this look like an all-new kitchen that just happens to still have a harvest gold range, as opposed to one where the cabinets are identical in tone to the floors.
Stay tuned to see how it goes and if Zac and I are still engaged at the end of this!
We joined the One Room Challenge as a Guest Participant this year. Hop over to the ORC site to see all of the great rooms and come back to us every Wednesday for the next five weeks to see our progress!