If you haven’t been following the progress of my abstract nude painting on Instagram stories, hop over there and get caught up in the highlight “Trudy the Nudie.” Then come see how I made an easy DIY canvas frame using some wood I had lying around.
The Abstract Nude Painting aka Trudy the Nudie
I’ve been on a real “make all new art for my house” kick and after shelling out some cash for several blank canvases at Michaels (they were on sale, but still $$$), I found some old fabric I had stretched over a DIY wood frame a few years ago for my apartment. The bird fabric was fine, but it didn’t really fit into my design plan for my house, so I decided to paint over this fabric with white as my own DIY canvas. Plus, I wanted to try to paint a person. Enter: Trudy the Nudie.
I didn’t want to spend a bunch of money on new paints, so I pulled out all of the test pots of colors I have from my walls and house painting projects. Bonus, using samples and some leftover paint was a guarantee that the colors would go with things in my house. Foolproof.
My painting process went like this: cover the birds with Kilz primer, slap a bunch of house paint colors on for the background, slap more colors on for the background and smear it around, wait for Trudy to emerge. Then debate over whether or not she should have a head and add a braid. I used this painting as inspiration and referenced it on my phone while I was sketching out Trudy’s bod. You all said it was fine to take inspiration from other paintings in my Instagram poll, so looks like THIS IS NOT STEALING.

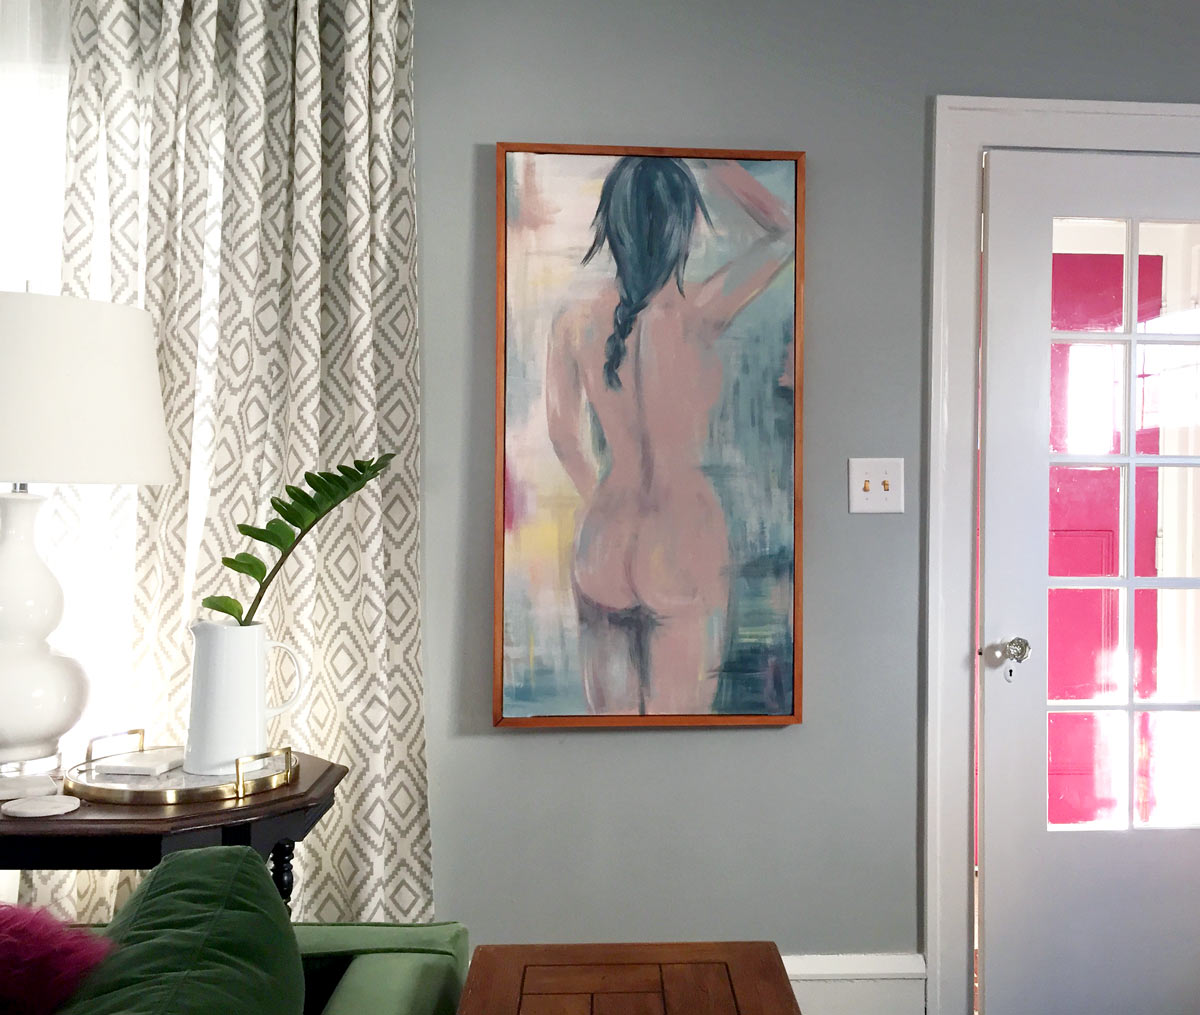
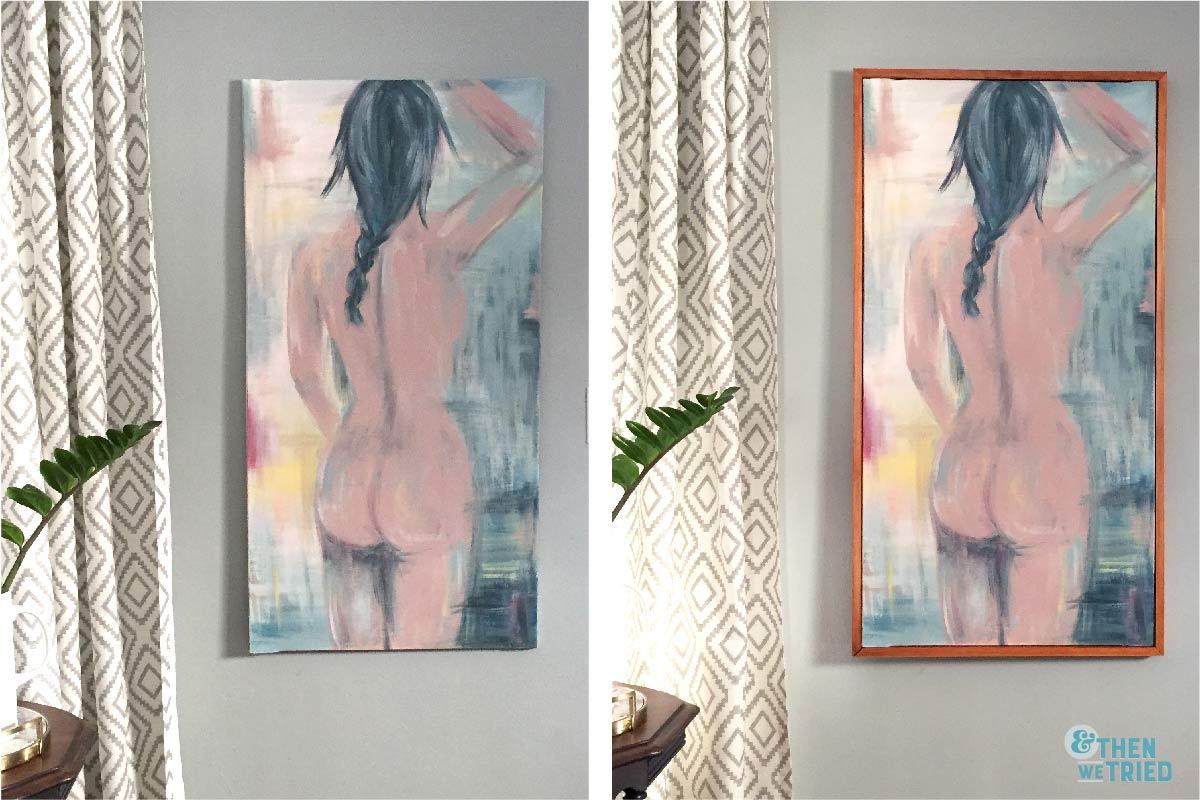
The canvas is the perfect size for next to the front entry, which is also kind of the living room, and even though it is a giant naked butt it really feels subtle in person. Feel free to come see it IRL, and as always, please bring wine. BUT(t), the plain canvas looks unfinished hanging on the wall and kinda screams DIY. I prefer my DIYs to trick people into thinking I spent a ton of money on them, so this didn’t cut it.
The DIY Canvas Frame
One benefit of hoarding all sorts of scraps and materials is that I always have supplies on hand. I found some 1×3 pine boards in my basement and got to work making a frame. My canvas is about 2′ x 4′ so I used two 8′ boards to make the DIY canvas frame.
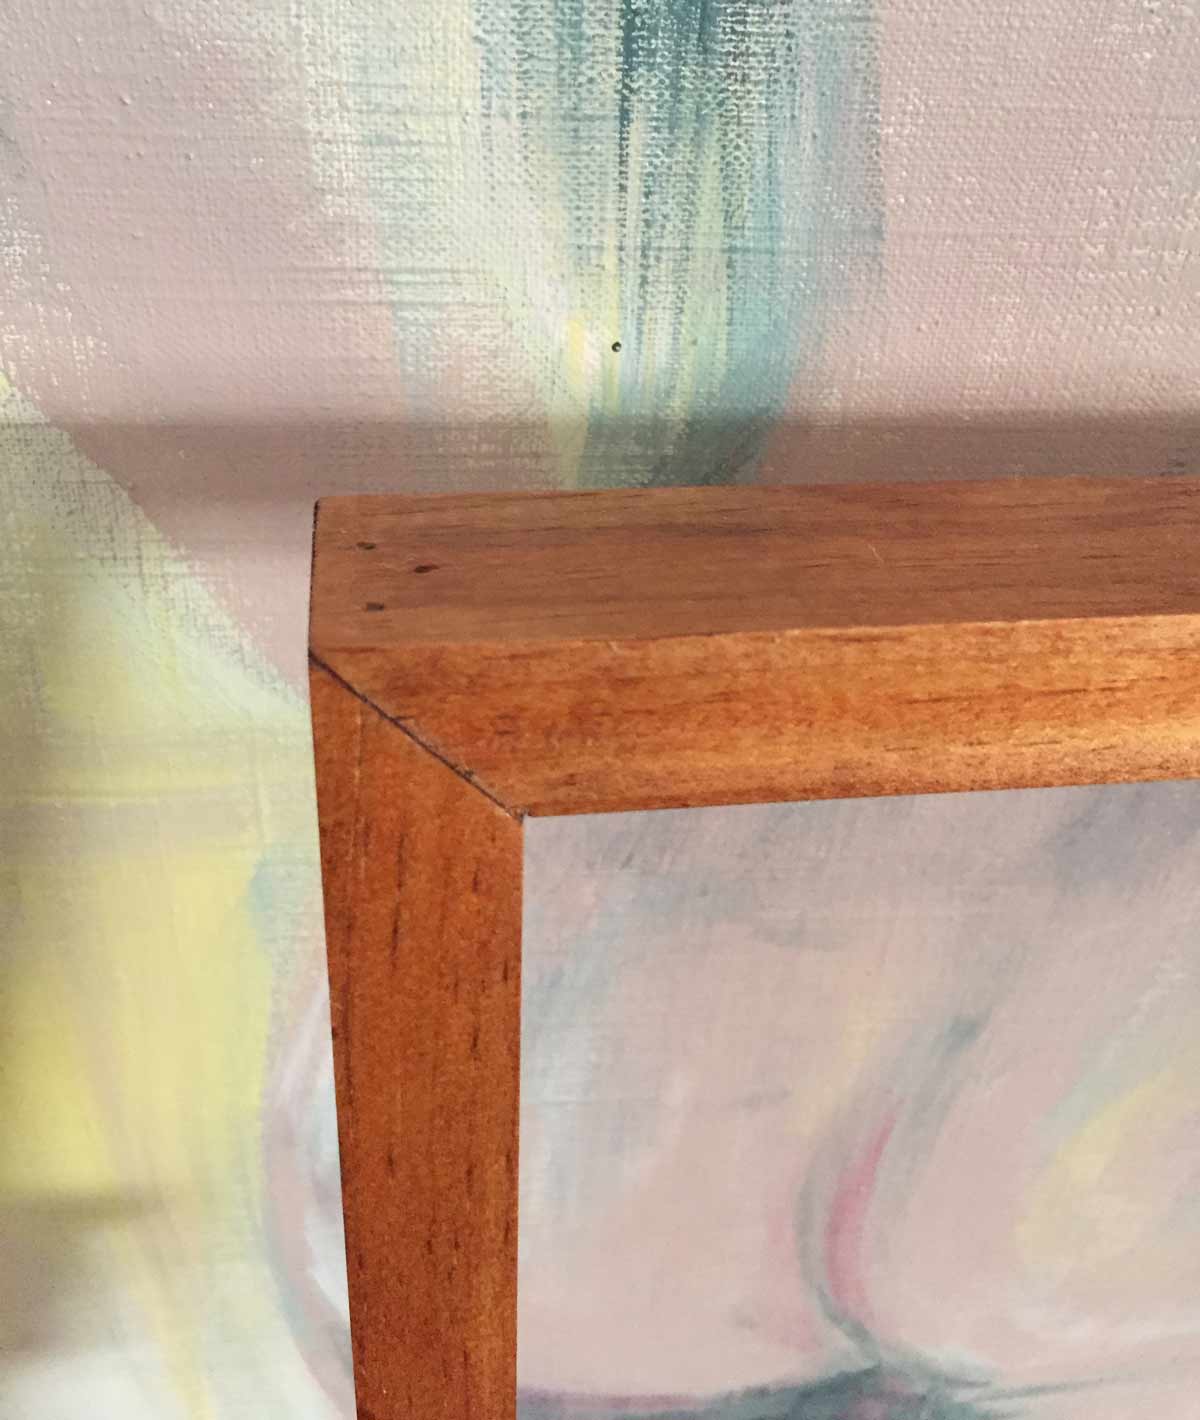
If you have access to a miter saw, I’d recommend going for mitered corners. I think it gives the cleanest (most expensive) look. You can do this with a power miter saw, or a miter box. Although TBH I hate using miter boxes and find them so annoying to use.
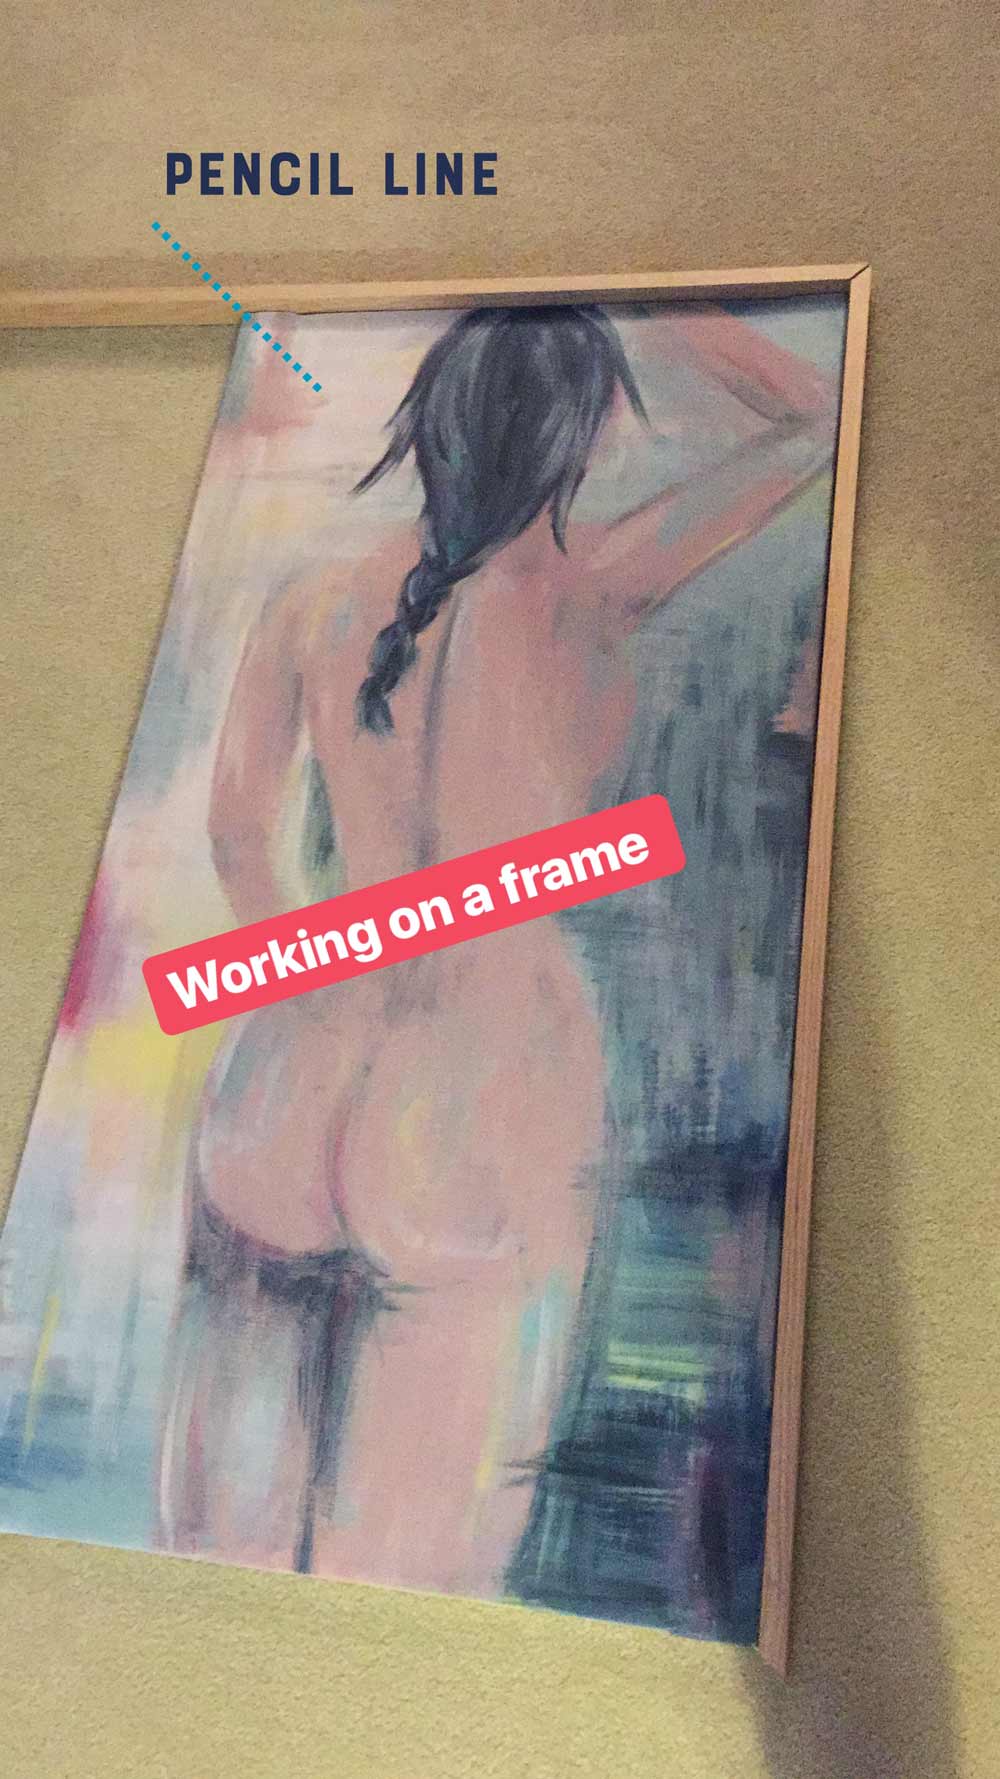
Start with one piece of wood laying next to your canvas and mark in a little bit from the end for the first miter cut. Since my canvas was homemade and a little wonky, each side was a slightly different dimension so I just marked the cuts with a pencil. I drew a pencil mark going along the angle the miter needs to follow on three sides of the wood so there’s very little chance of me messing up the cut once I get the wood onto the saw. After you get one side done, copy it for the other side if your canvas is perfect, or continue lining up your wood along your canvas and marking the cuts with a pencil.
After cutting all four sides and making sure they fit well around the frame, I tried to attach the corners with some little pokey braces, but they weren’t strong enough, so it was time to break out the nail gun. I have definitely watched too many tv shows where someone shoots themselves in the face with a nail gun, so I waited for parental supervision before using the nail gun. Now that I know how it works, I think I can handle it solo for the next couple of frames. I shot two or three lil nails in each corner (from the top + bottom since they are less visible) and voila, the frame was all secure! I didn’t want to permanently attach the frame to the canvas since I will want to do some touchups to the painting, but you can also nail directly into your canvas stretchers for maximum security.
I used Minwax Pre-Stain Conditioner and ignored a lot of the instructions and then mixed up Gunstock and Jacobean stains to perfectly match my floors. Finally, I coated the whole thing with two coats of my fave foolproof sealer, Minwax Wipe-On Poly and it was ready to hang! Note for the future, maybe don’t stain your project in a very dark room in the corner of your basement, or you might miss a whole section of wood on the back. Thankfully no one will ever see this, but I know it’s there.
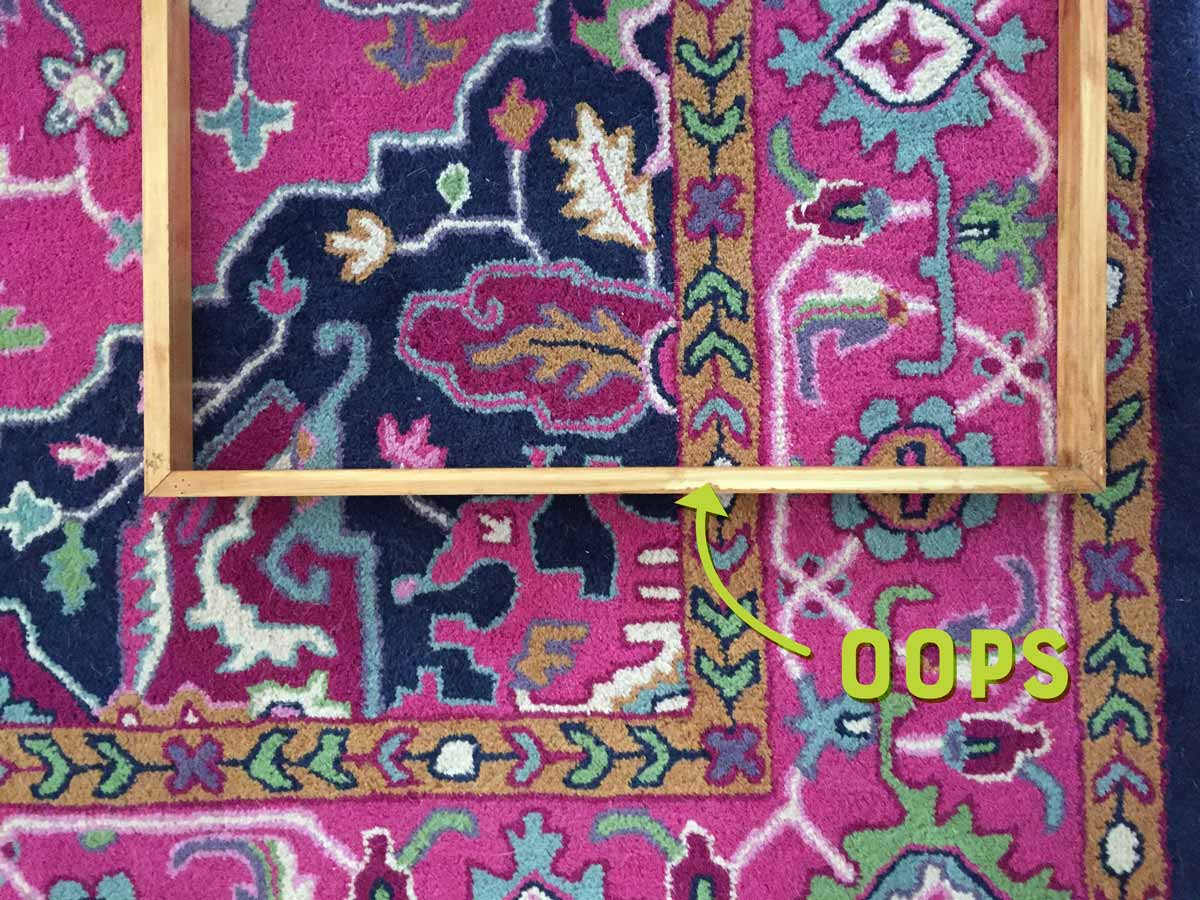
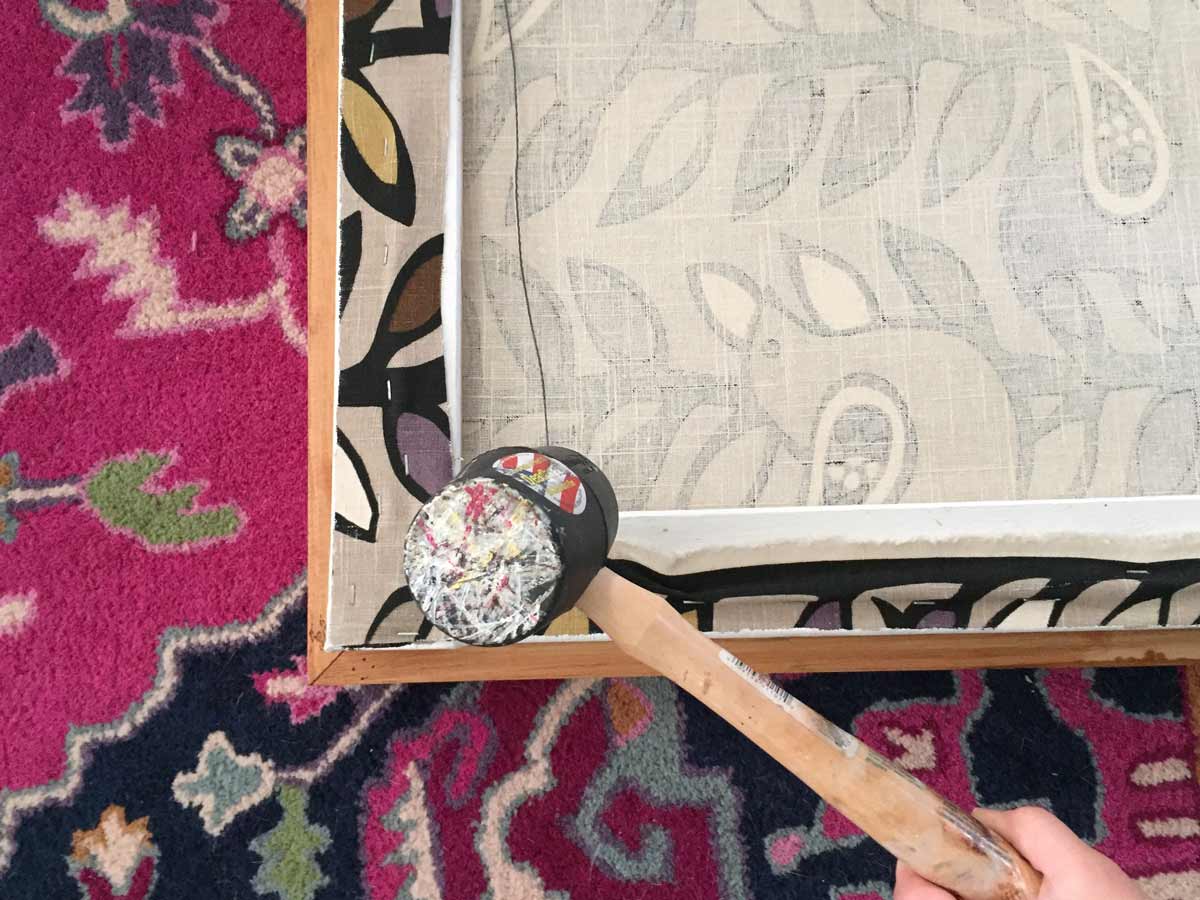
Some other DIY canvas frame tutorials use another set of wood boards behind your frame to rest the art on, but since I only had two matching 8′ pieces of wood in my basement, I just made my frame opening slightly smaller than my canvas and wedged the canvas in from the back using a rubber mallet.
I strung some picture wire on the back of the canvas (not the frame) so the canvas is supporting the weight of the frame. You might want some more support on your frame if you will be putting the hanging stuff on the frame itself.
What do you think? Are you ready to make some quick and easy DIY canvas frames to class up your wall art? Or, are you ready to make a hot and tasteful abstract nude painting for your entryway?