After purchasing two amazing prints from the talented Amy Blackwell and her shop Audrey and Illya, I’ve been at a loss as to how to frame them. To those of us who don’t use international paper sizes, the A4 prints are roughly an 8.5″ x 11″ but not exactly. Because of that, I had the hardest time finding a frame to use. I know they must make A4 frames but alas I could not find one I liked. While there is always the option for custom frames (expensive) or having a mat cut (slightly less expensive), but I needed another alternative.
After recently discovering Framebridge, poking around on their website—and ordering a print for my dad—I found they did float mounting where the art appears to be floating above the backer panel. It was an aha moment! How had I not thought of that before? It’s so simple and yet I had never considered it. Now I could use a standard size frame and float mount my art inside it. Framebridge however, will charge you an additional $25 to pull off this look and I knew it could be done DIY.
The Inspiration
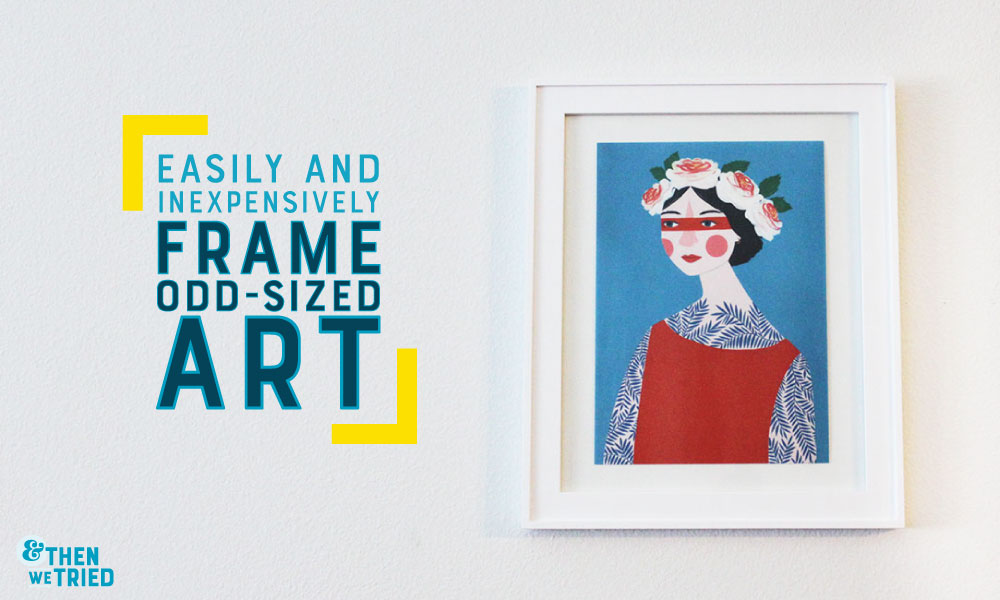
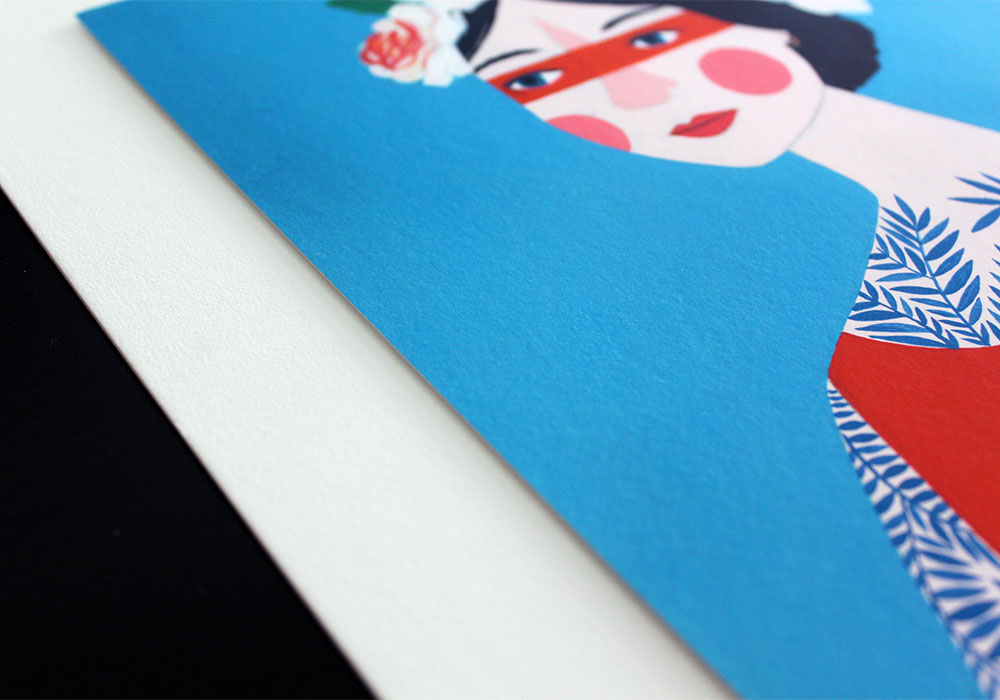
See how the image looks like it is floating in the frame? It gives it such a high end feel + all that beautiful white space. This is so easy to DIY it’s incredible. But having never seen—or more correctly, noticed—this done before I felt like it was crucial to share. I like to get my frames from Aaron Brothers because they are the Kohls of frames and everything is always on sale. The frame I used is their Steinbeck line in thin white.
How to frame odd-sized art

All you need to pull this off is a piece of mat board—which you can find at your local art supply store—and a standard frame. I was able to frame my two images in 11 x 14 frames using one piece of 20 x 32 mat board. This should run you approximately $8-10.
Step 1
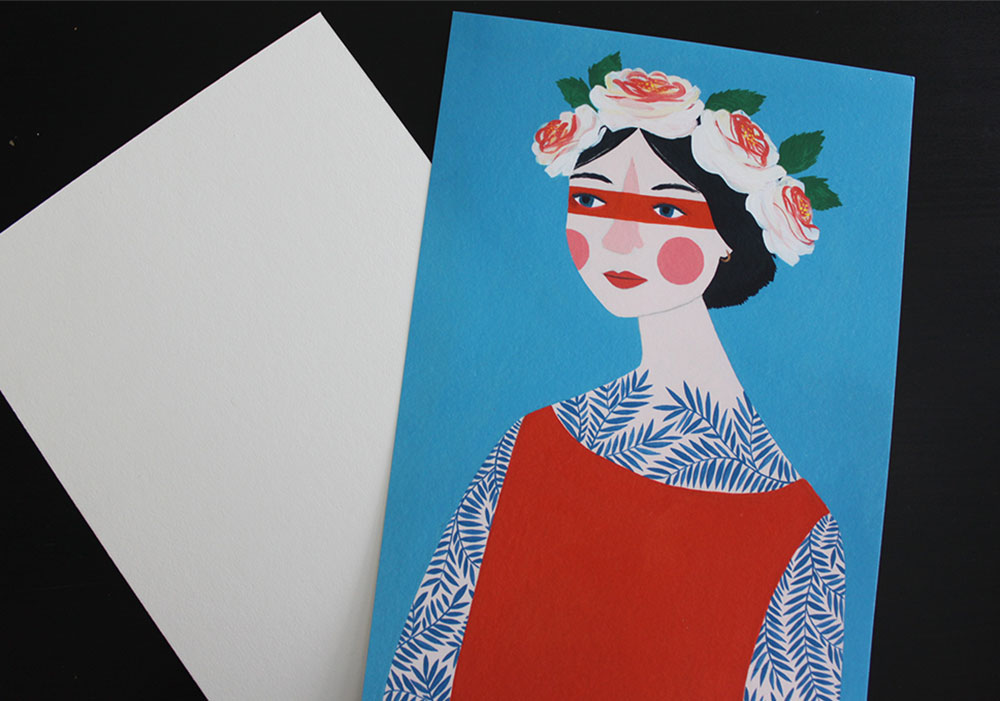
Cut a piece of mat board slightly smaller than the art you want to frame.
Step 2
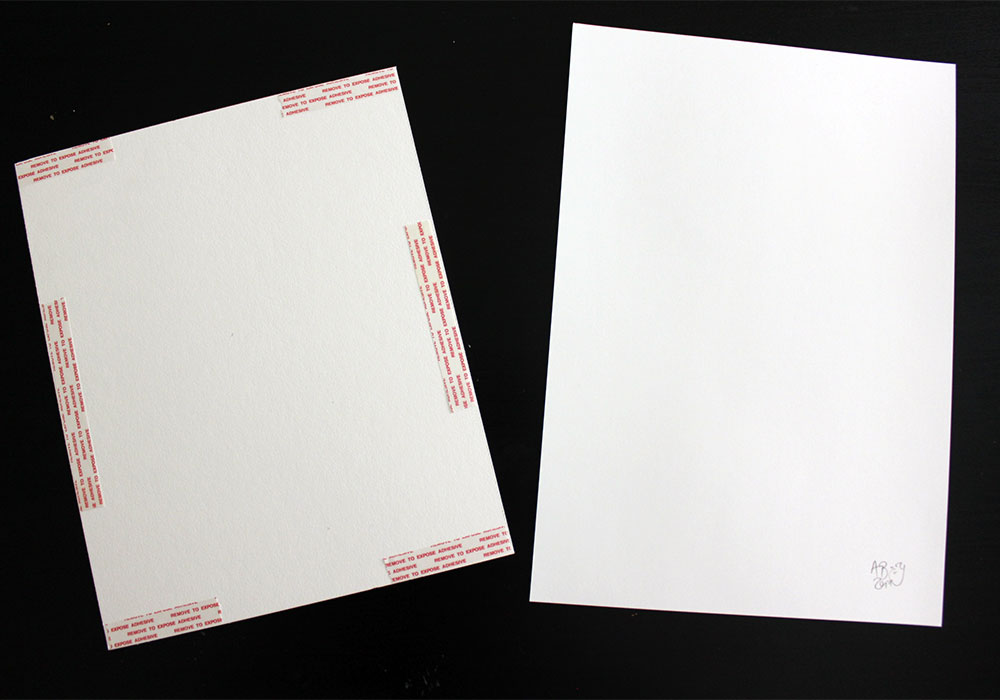
Attach with double stick tape. Now thats easy enough but I somehow went through 3 different types of tape for this project. I am just neurotic enough to not use permanent double stick—cause I’m prone to mistakes—so I had to test out all the reposition-able tape I could find. After some trial and error my new favorite is this tape from Scotch. Super thin and removes easily if you line things up wonky.
Step 3
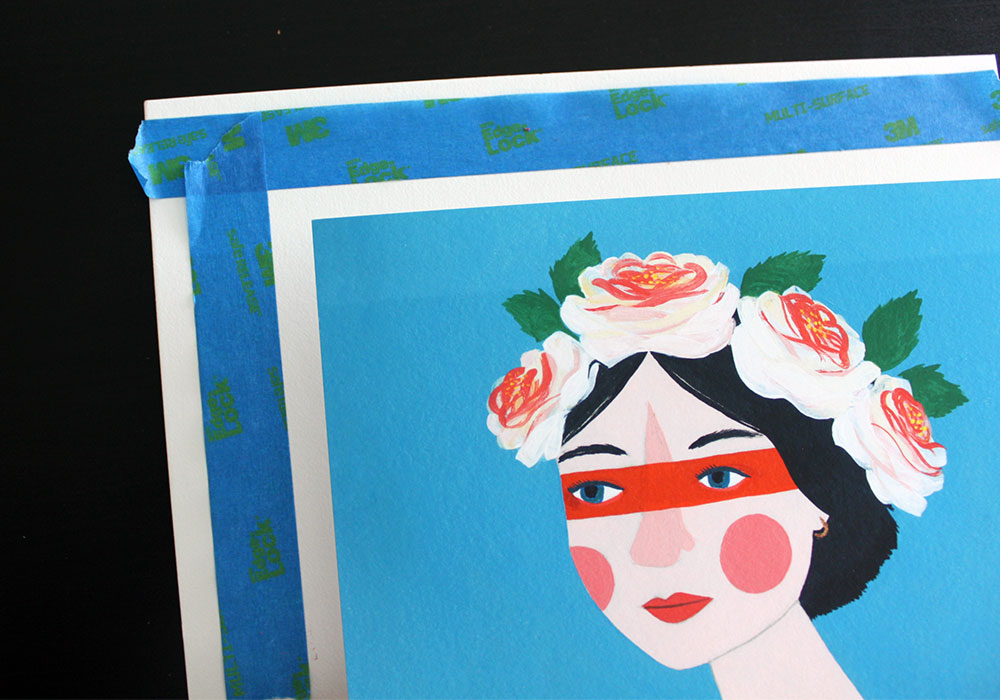
Using double stick tape, mount the print + mat board onto your larger piece of board. Measure where you need to position your print and give yourself guides with painters tape that can easily be removed without doing any damage.
Voila!
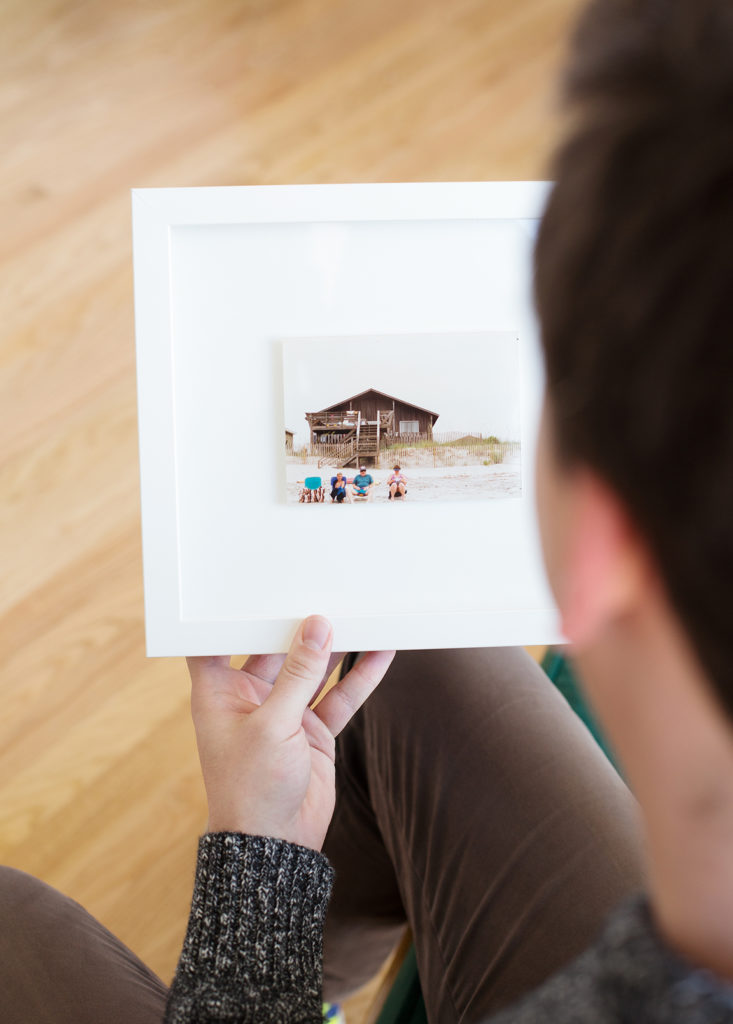
It’s really as easy as that. Now pop it into your frame like any other picture. I would love to try this again with foam core behind the print to increase the depth but unfortunately my frame would not allow me to go any larger. I may try with a shadow box style frame next time.
What do you guys think? This would be great for odd-sized pieces that don’t fit in traditional frames.
Other uses for this type of mounting:
- Sentimental concert tickets
- Old polaroids
- Prints with an artist signature that you don’t want to cover up with a mat
- Photo booth pictures