When we left off with the DIY hanging daybed, the swing itself had been constructed but that was it. I had mentioned that I would be painting it, but I just couldn’t get the image of a stained swing out of my mind. So, I just went for it.
With the quality of the wood and the amount of filler I had used, I didn’t have high hopes. But, I sanded everything down with 80 grit sandpaper, followed by 150 grit. Then I hit everything with a coat of Minwax Special Walnut. I didn’t even wipe it off, just wiped on with a paper towel and let it dry. The next day I added a coat of Minwax Gunstock to get a warmer tone to the wood. Here it is!
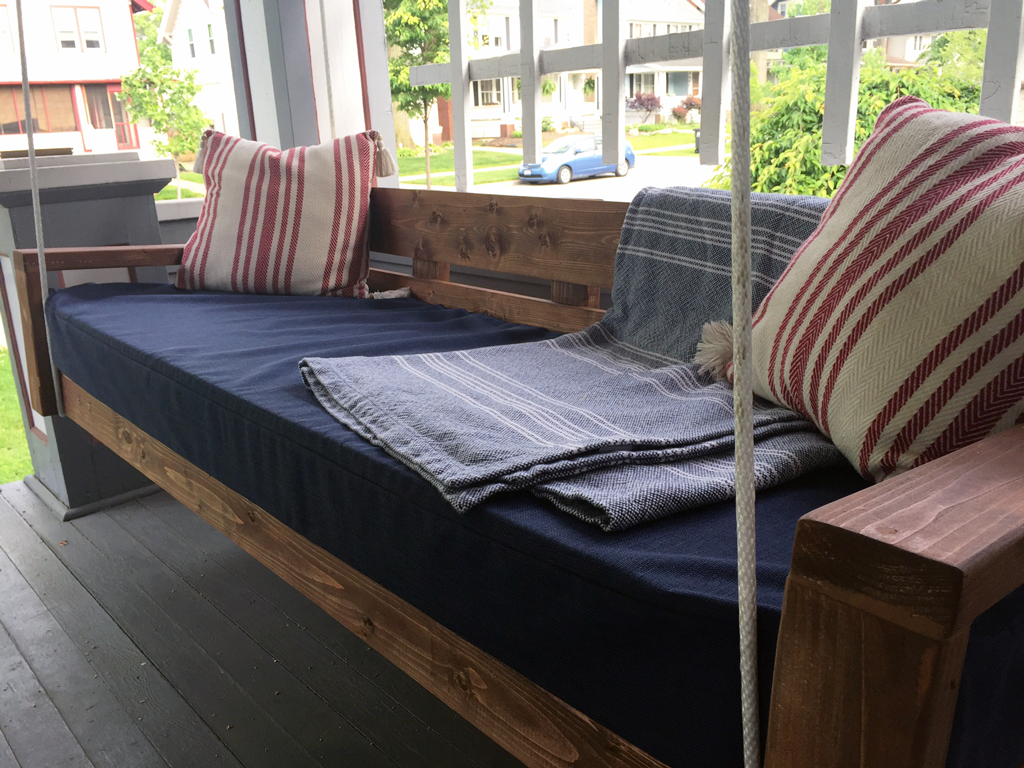
Although the two different types of boards took the stain a little differently and the wood filler is definitely still visible, I didn’t hate how this turned out! At least, not enough to sand everything down again and give it a coat of paint.
To make the cushion, I headed to a sewing lesson with the official seamstress of ATWT, aka Michelle’s mom. We were too excited to take pictures during the cushion construction process (sorry!) but we made a basic box cushion for a piece of foam that I got for 50% off online. The foam ended up being the most expensive part of the project at $95. We used an electric knife to cut the foam down to 72″x24″x5″.
I had also scored some outdoor fabric at 50% off as well. I’m still going to apply some waterproofing to it, but using outdoor fabric makes the cushion feel really legit.
I can’t thank Mrs. Kowalski enough. She did 90% of the work (I mostly observed and learned how to use a sewing machine) and we were able to crank this out during a Saturday morning.
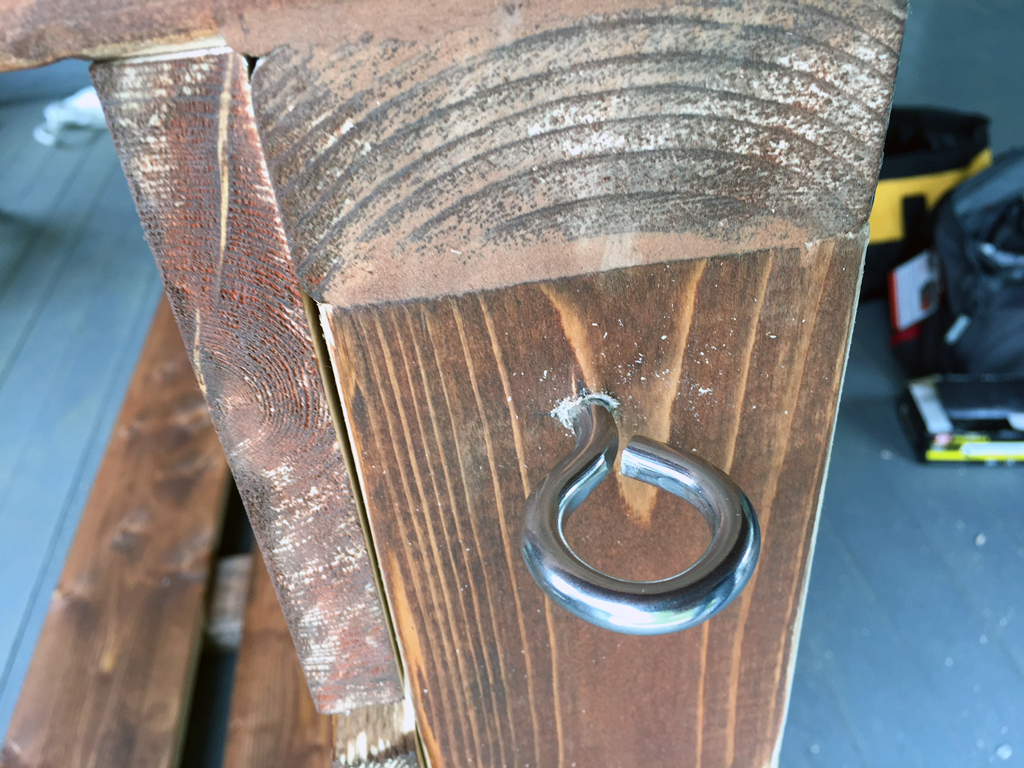
With the cushion figured out, it was time to put the ‘hang’ in ‘DIY hanging daybed.’ While the swing itself isn’t super heavy, I was concerned about the amount of weight it could hold. Chains were the most obvious choice, but that just wasn’t the look I was going for. Instead, we got some nylon rope and eye hooks at Lakewood Hardware.
Following Ana White’s instructions, I secured four eye bolts with nuts to the base of the swing. From there we had to install eye hooks into the ceiling of our porch.

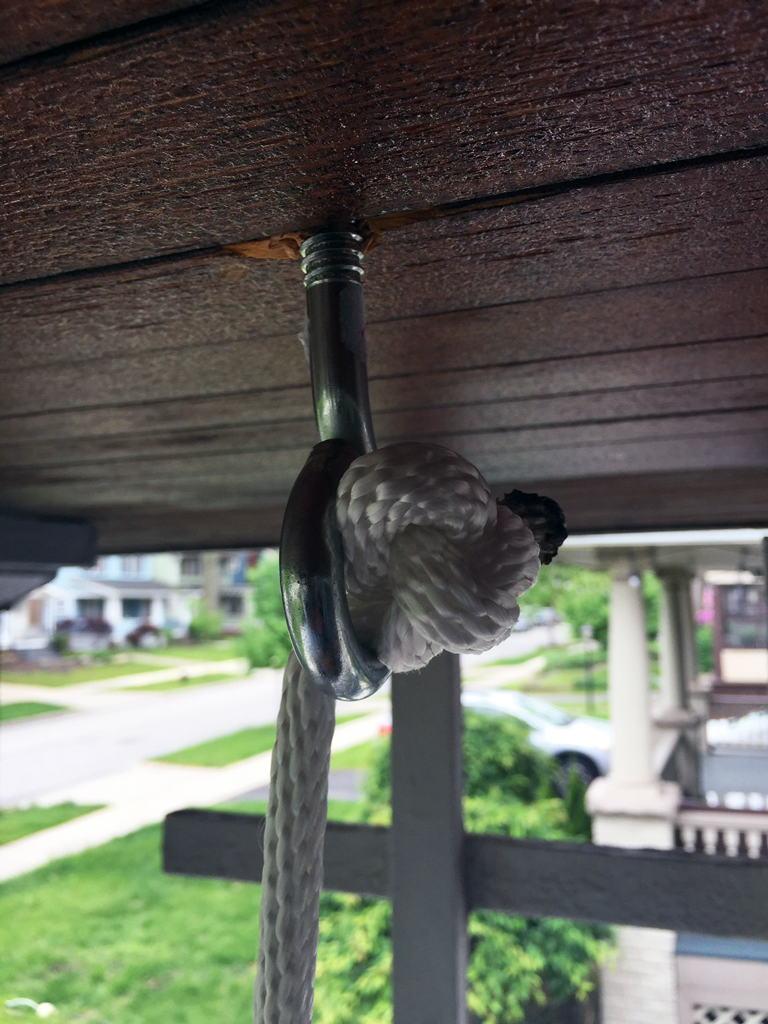
Now, a side note about our porch. When we hung our hammock chair my boyfriend and I discovered that our porch ceiling joists weren’t where we thought they would be. Instead of running North to South along the length of our porch, they run East to West along the depth of it (if that makes sense). So, instead of putting hooks into two different joists to hang our daybed, the two hooks would go into one joist at different points.
We were concerned about putting all of this weight on just one joist, so we decided to do four ceiling hooks, with the back hooks on one joist and the front hooks on another. With the hook positions set, we tied two figure eight knots at the end of one length of rope, fed the rest through the two hooks on the swing, and then brought it back up to the ceiling hook and again tied two figure eight knots. We burned the ends of the rope down, then did the same process on the other side. The hanging daybed was up!
I gave it an inaugural test sit…and the rope stretched out and the swing sank probably two inches. Not ideal. With two people on the swing, it practically hit the floor of the porch. We did some maneuvering and ended up having to hook the rope around the back of the swing and under the front corners to give it some extra support.
While I really didn’t want to have to use chain, I think I’m going to have to for safety reasons. I don’t want to have to be worried about the swing coming crashing down every time someone sits on it. I’m going to leave it for now, because it does work, but in the future I’ll probably get some chain and possibly wrap it in rope to disguise it a bit.
The stain needs a few touch ups still, and I need to seal the wood with some outdoor poly, but for the most part, I’m calling this DIY hanging daybed project done.
Budgeting has never been my strong suit, but I’d guess that this whole DIY hanging daybed project cost $250 from construction to the cushion to hanging. I already had wood glue, wood filler, and stain, but I bought:
- Lumber, screws, nails: $60
- Outdoor fabric, thread: $55
- Foam: $95
- Hanging hardware: $40
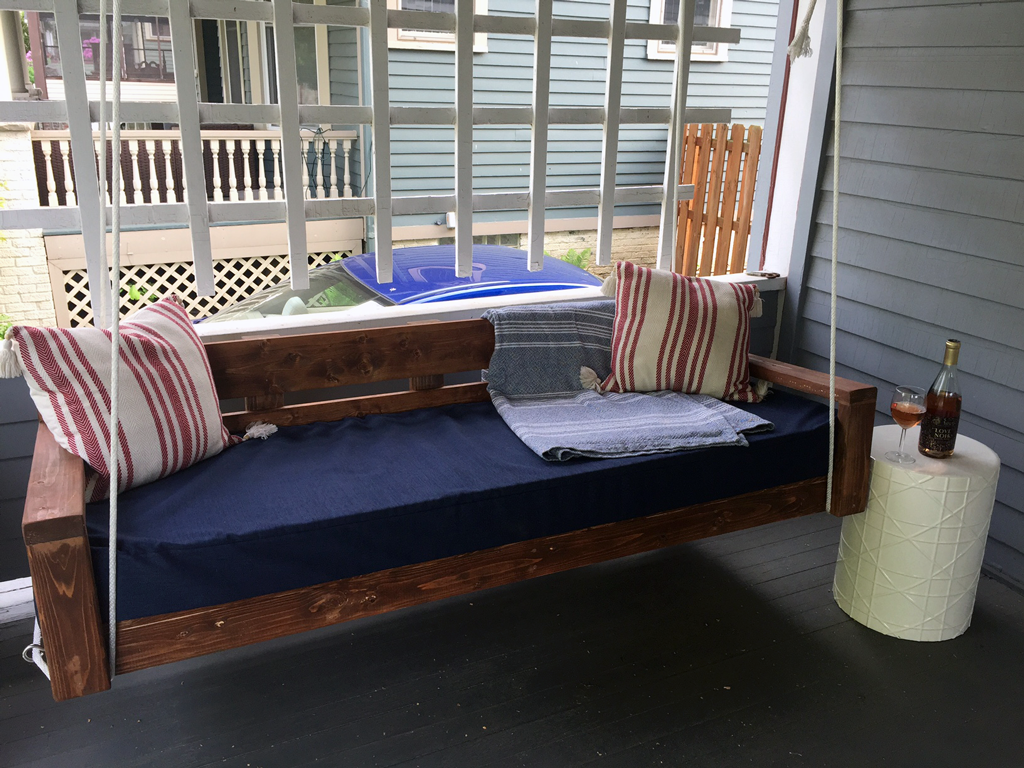
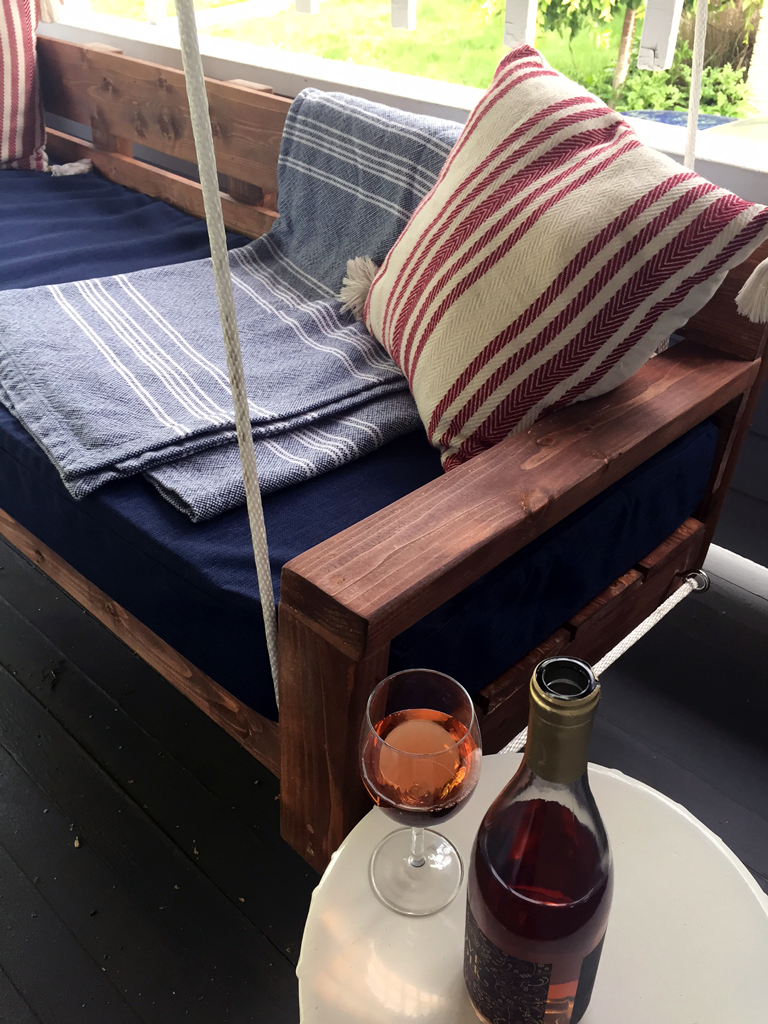
Not too bad, considering one of the best prices I saw for pre-made hanging daybeds was $400. Is it the most beautiful hanging daybed I’ve ever seen? No, but I made it myself and I’m pretty proud of my first build! With some throw pillows (they’re indoor pillows, but I’m a rebel), a blanket, and a bottle of rosé for context and scale, I think it looks pretty good.
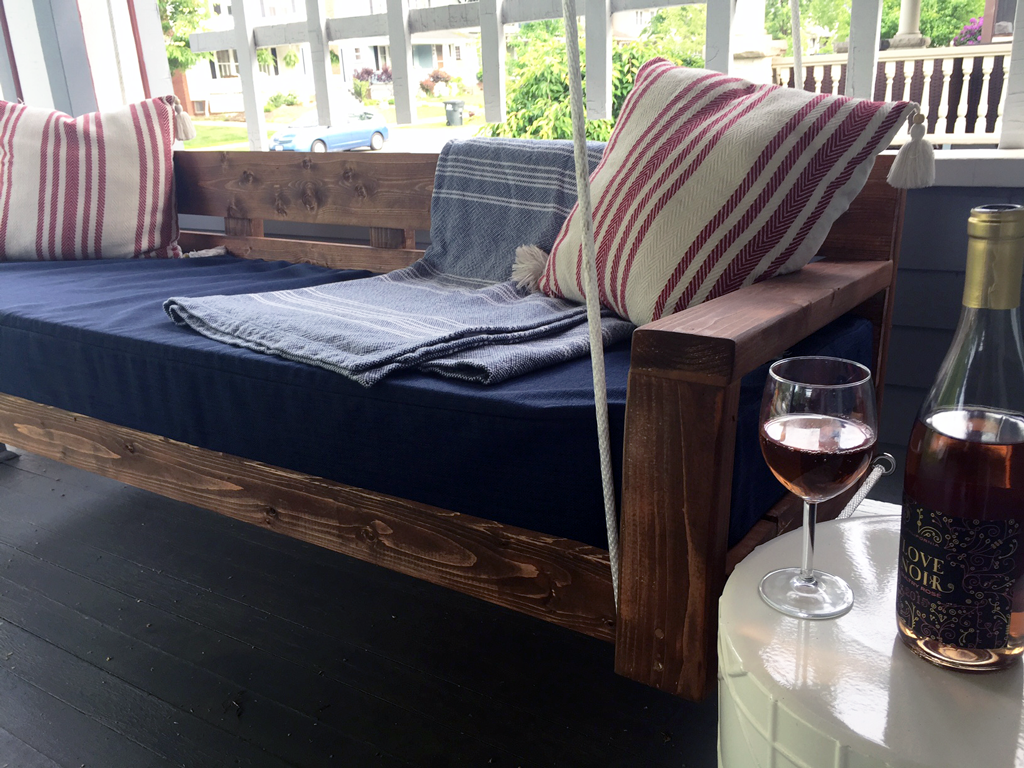
So, who’s coming over for a porch party?