For my trip to Thailand, I have been focused on acquiring hella practical items. For example: a fanny pack, and a lot of athletic, moisture-wicking tank tops, and sandals. My travel sandal requirements:
- waterproof: I need to be able to rinse off the elephant mud
- back strap: so they don’t fall off while I’m trekking to the elephants
- lightweight: so I can pack them easily and not get too hot while wearing them
- under $50
I spent a lot of time on the Teva website and their new lifestyle imagery sold me on them as an option and tricked me into thinking they might be acceptable to wear after Thailand.
Here are the options:
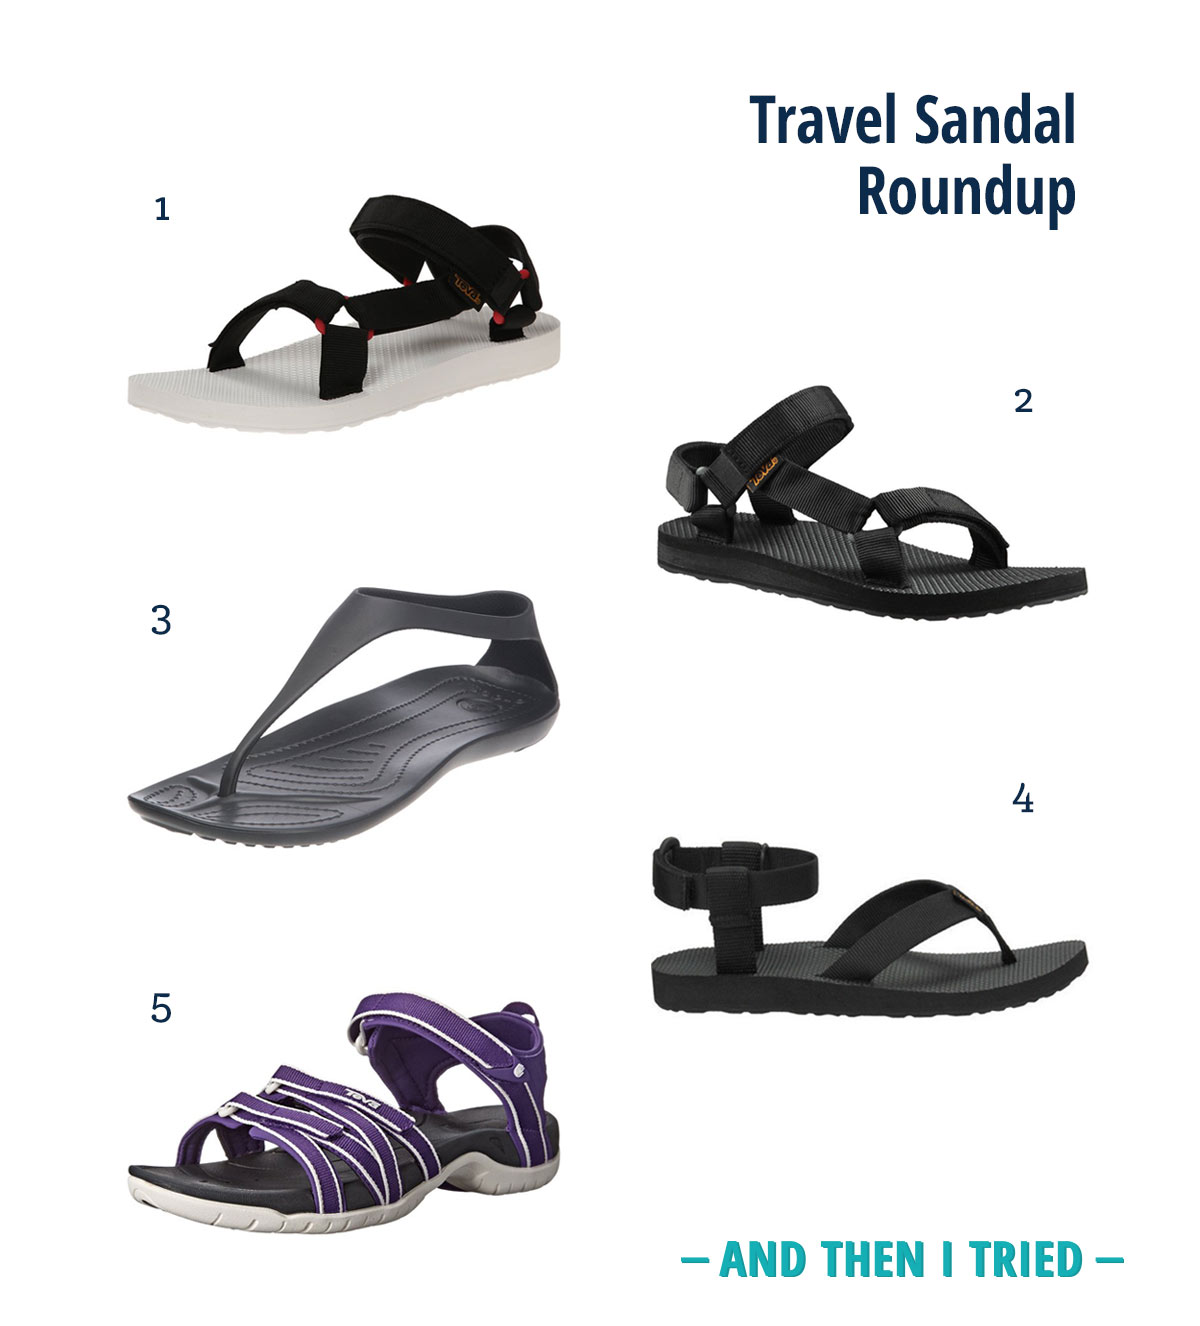
-
Teva Women’s Original Universal Sport Sandal
I got these on clearance, and since they were so cheap, I convinced myself I could handle the ultra sporty look. Ultimately, I thought the white would get dirty too quickly and I learned that this style of Teva runs big so I needed to order another size.
-
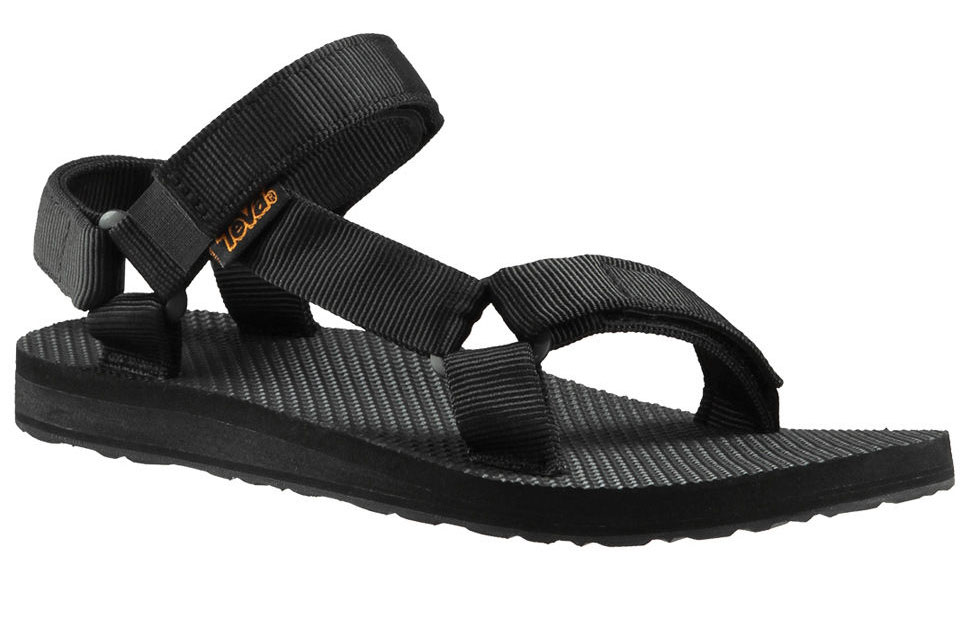
Teva Women’s Original Universal Sandal
I ordered these in a smaller size than option #1 and decided to go with plain black since the ultra sporty look was a bit much for me. Spoiler Alert: I’m keeping these.
-
crocs Women’s Sexi Flip Sandal
These were my first choice and I like the low-profile look. I would recommend these as a regular life sandal but decided not to keep them for Thailand since they aren’t as sturdy as the Tevas. Also, the straps are tight, so they aren’t very easy to slip in and out of, which could pose a challenge at temples.
-
Teva Women’s Original Sandal
I thought these would be more secure on my foot than option #2 but the straps were placed in an uncomfortable spot that created a chunky ankle bulge. Not cute. Not practical.
-
Teva Women’s Tirra Athletic Sandal
These were the most practical option, but I hate them. There are too many straps and the cheapest option in my size was this bold purple + white combo. The low profile, functional alternative: Teva Zirra, are too expensive but I think those are a better choice.
Currently trying: to embrace my crunchy mom on a hike sandals and my practical travel style.